前準備
Anaconda のインストール
前準備として,Python 開発環境のAnaconda のインストールが終わっていること. Windows では Chocholatey のインストールが終わっていること
- Windows での Anaconda, Chocolatey のインストール手順は、
別の Web ページに記載しています
- Ubuntu での Anaconda のインストール手順は、 別の Web ページに記載しています
隔離された Python 環境の作成.Tensorflow, Keras, OpenCV, spyer のインストール
Windows での 手順は、 「Windows で,隔離された Python 環境 + Keras + TensorFlow + OpenCV + spyder + Dlib 環境を作る(Anaconda を利用)」のページで説明しています.
以下,Windows での Anaconda をインストール済み, 隔離された Python 環境(名前は ai)に、Tensorflow, Keras, OpenCV, spyder をインストール済みであるものとして説明を続けます.
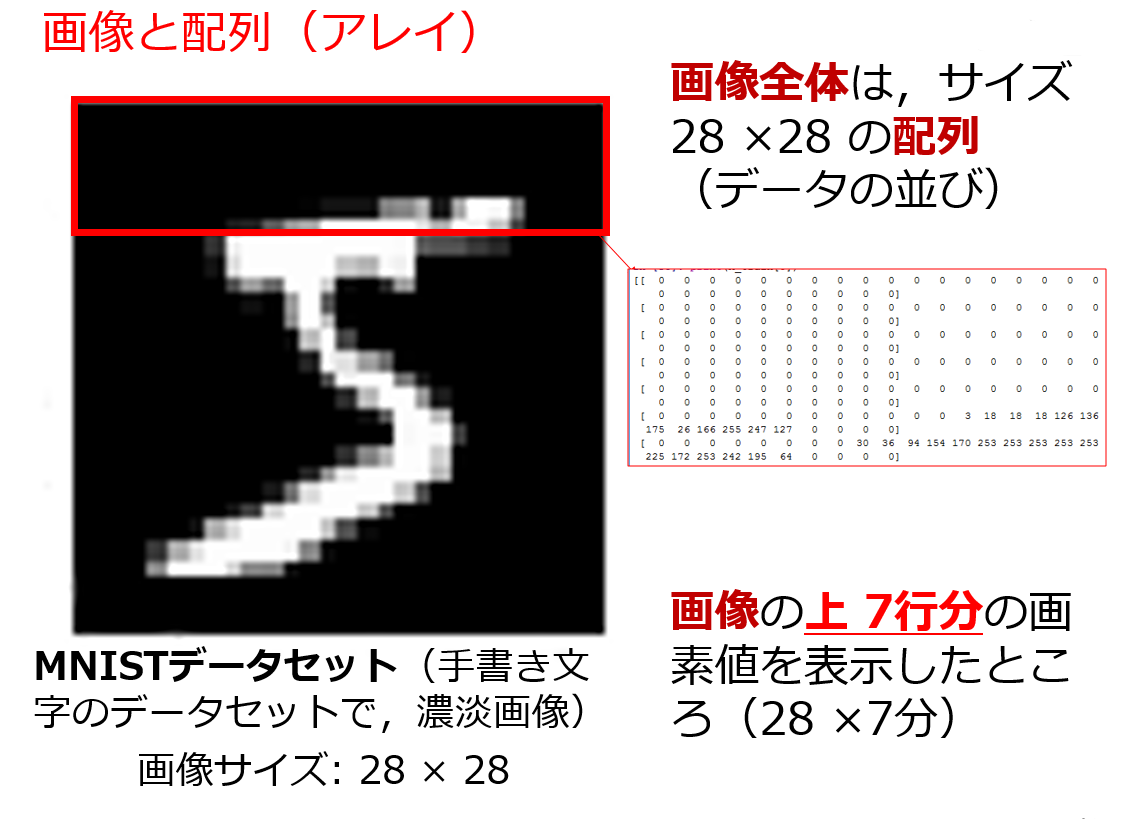
配列(アレイ)
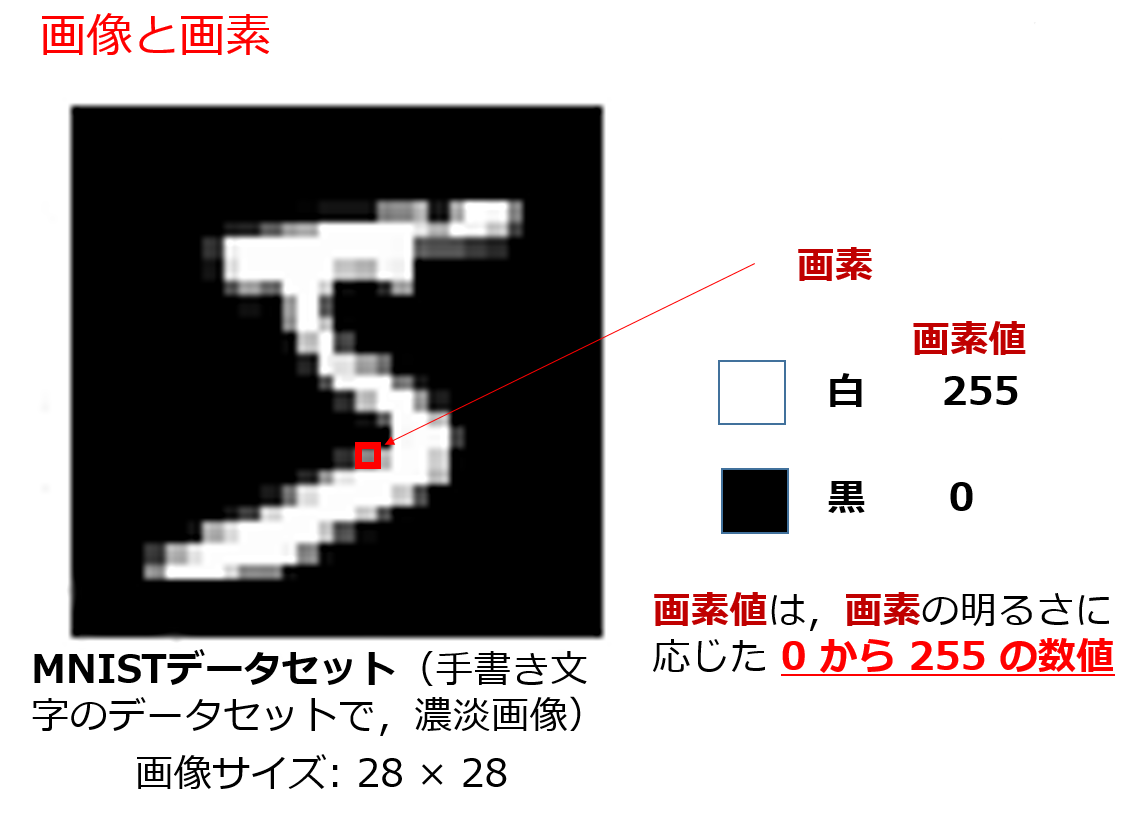
画像と画素
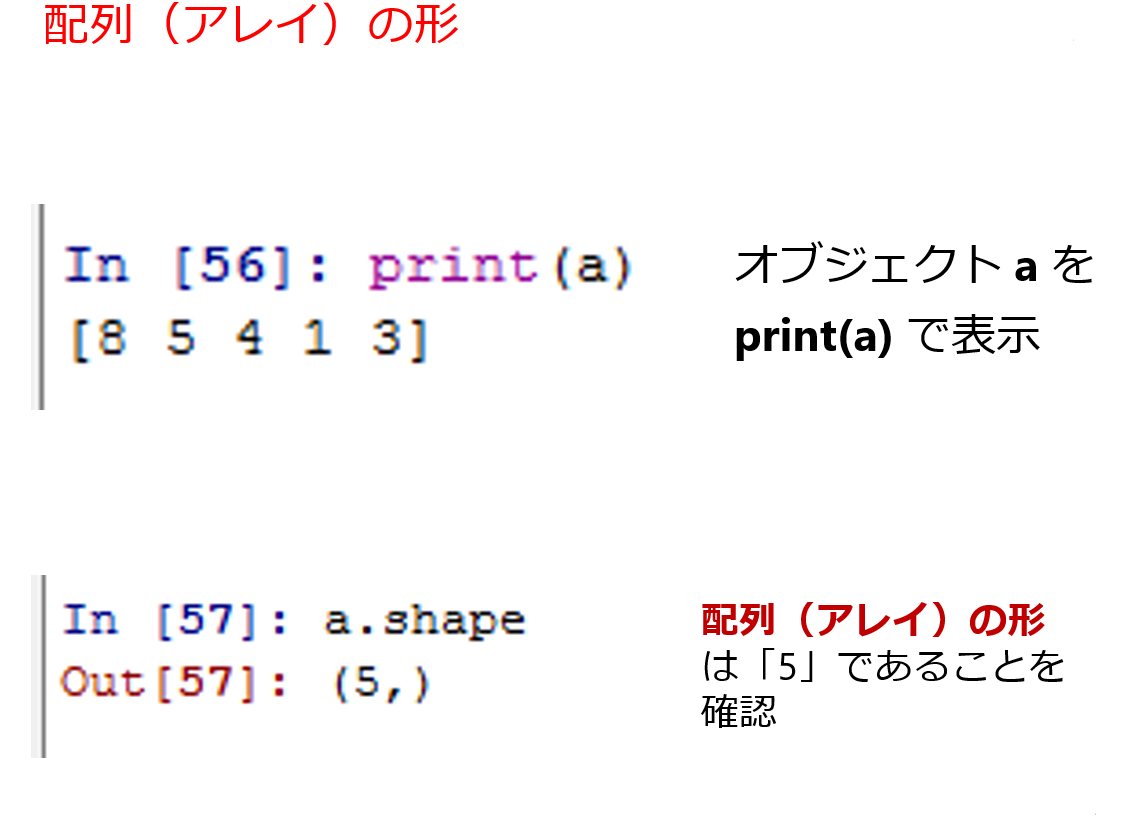
配列(アレイ)の形と次元数
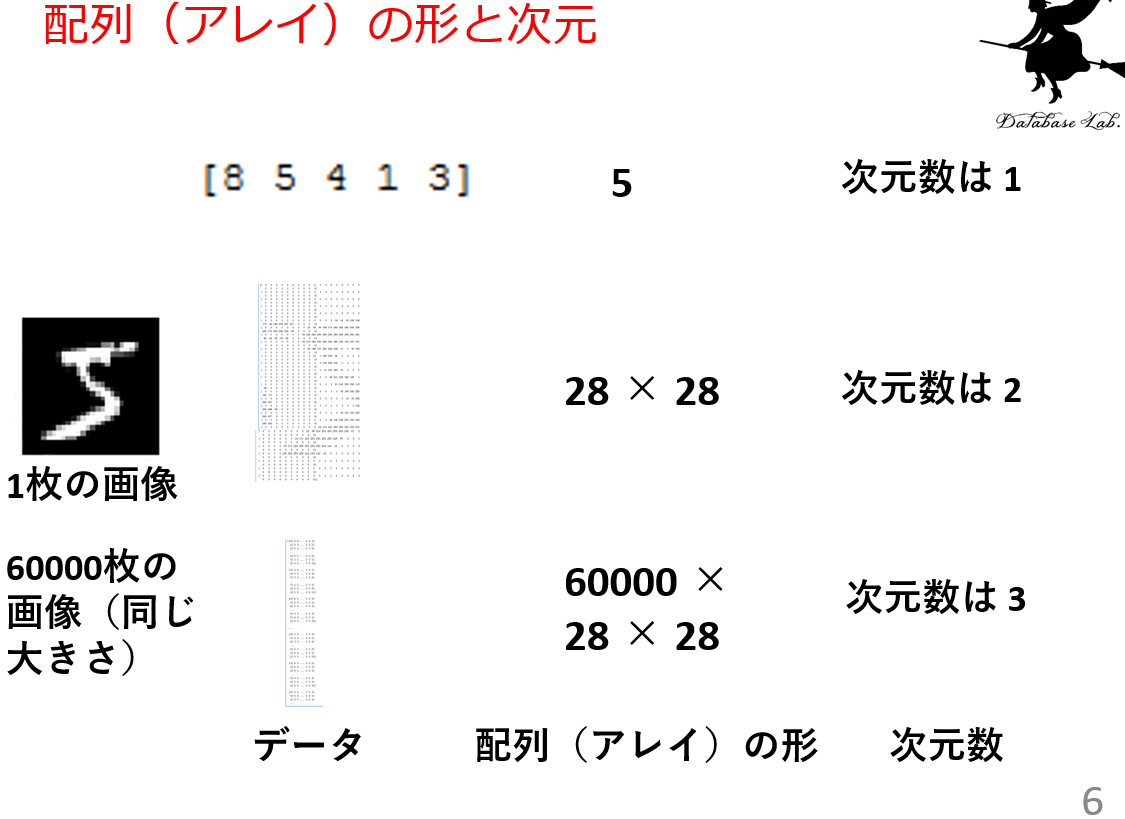
実習課題
- IPython シェルのコンソールで、Python 環境(名前は keras)を使う
Windows では、Anacondaに入っている開発環境 spyder を実行し,右下の ipython コンソールを使うのが簡単.
※ Windows で、あるPython 環境(名前は aiとする)の spyder を使いたいとき:
- Windows のスタートメニューに「spyder (ai)」が増えるので、それを使う。あるいは
- コマンドプロンプトで「activate ai」を実行したあとに「spyder」
- 次の Python プログラムを実行しなさい
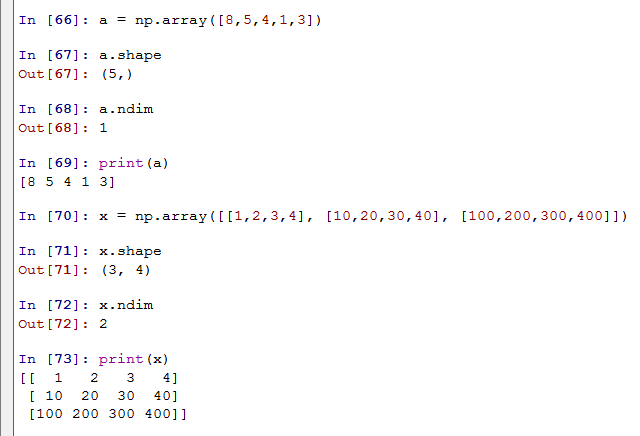
import numpy as np
a = np.array([8,5,4,1,3])
print( a.shape )
print( a.ndim )
print(a)
x = np.array([[1,2,3,4], [10,20,30,40], [100,200,300,400]])
print( x.shape )
print( x.ndim )
print(x)
Keras に付属のデータセットのうち画像データ
データセットとは、「データの集まり」のこと.
keras に付属のデータセットを取得するときのオプションについては, https://keras.io/ja/datasets/(日本語版), https://keras.io/datasets/(英語版) に説明されている.
ここでの、オブジェクトの名前付けのルール
- train: 学習
- test: テスト(当然,学習用データをテスト用データに使いまわすことはない)
- X: 配列データ
- y: ラベルデータ(整数値になっているのがふつう)
CIFAR10
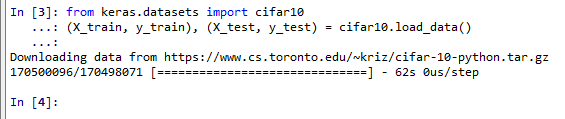
「Python 処理系」で次を実行.(Anacondaに入っている開発環境 spyder を実行し,右下の ipython コンソールを使うのが簡単.)
from keras.datasets import cifar10
(X_train, y_train), (X_test, y_test) = cifar10.load_data()
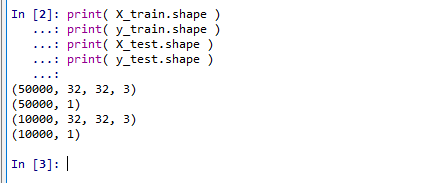
配列のサイズ確認
print( X_train.shape )
print( y_train.shape )
print( X_test.shape )
print( y_test.shape )
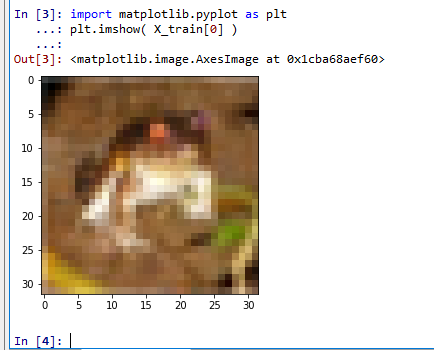
X_train の先頭要素の表示(確認のため)
import matplotlib.pyplot as plt
plt.imshow( X_train[0] )
実習課題
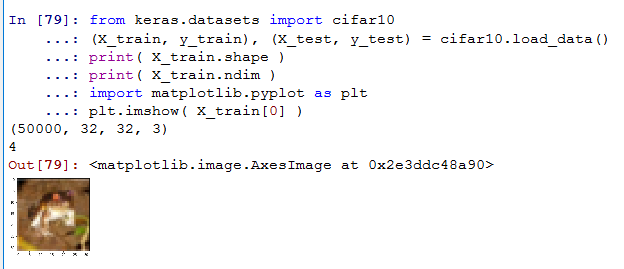
CIFAR10データセットのうち学習用の配列データについて,配列の形,次元数,最初の画像の中身を,次のプログラムで確認しなさい
from keras.datasets import cifar10
(X_train, y_train), (X_test, y_test) = cifar10.load_data()
print( X_train.shape )
print( X_train.ndim )
import matplotlib.pyplot as plt
plt.imshow( X_train[0] )
CIFAR100
「Python 処理系」で次を実行.(Anacondaに入っている開発環境 spyder を実行し,右下の ipython コンソールを使うのが簡単.)
from keras.datasets import cifar100
(X_train, y_train), (X_test, y_test) = cifar100.load_data(label_mode='fine')

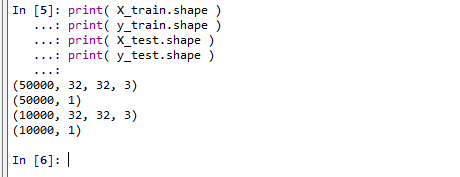
配列のサイズ確認
print( X_train.shape )
print( y_train.shape )
print( X_test.shape )
print( y_test.shape )
X_train の先頭要素の表示(確認のため)
import matplotlib.pyplot as plt
plt.imshow( X_train[0] )
実習課題
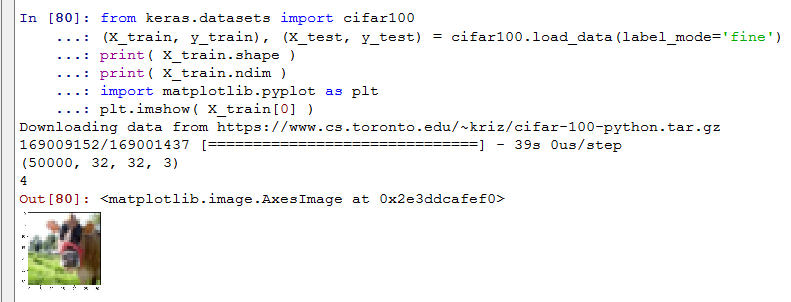
CIFAR100データセットのうち学習用の配列データについて,配列の形,次元数,最初の画像の中身を,次のプログラムで確認しなさい
from keras.datasets import cifar100
(X_train, y_train), (X_test, y_test) = cifar100.load_data(label_mode='fine')
print( X_train.shape )
print( X_train.ndim )
import matplotlib.pyplot as plt
plt.imshow( X_train[0] )
MNIST database of handwritten digits
「Python 処理系」で次を実行.(Anacondaに入っている開発環境 spyder を実行し,右下の ipython コンソールを使うのが簡単.)
from keras.datasets import mnist
(X_train, y_train), (X_test, y_test) = mnist.load_data()

配列のサイズ確認
print( X_train.shape )
print( y_train.shape )
print( X_test.shape )
print( y_test.shape )
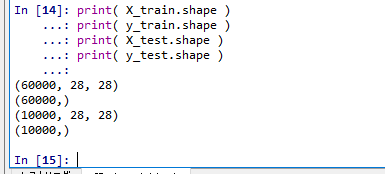
X_train の先頭要素の表示(確認のため)
import matplotlib.pyplot as plt
plt.imshow( X_train[0], cmap='gray' )
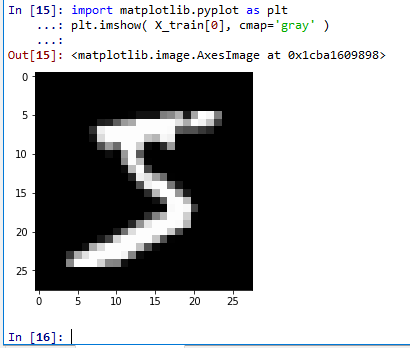
実習課題
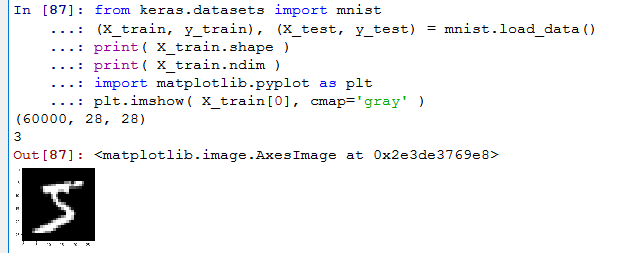
MNIST データセットのうち学習用の配列データについて,配列の形,次元数,最初の画像の中身を,次のプログラムで確認しなさい
from keras.datasets import mnist
(X_train, y_train), (X_test, y_test) = mnist.load_data()
print( X_train.shape )
print( X_train.ndim )
import matplotlib.pyplot as plt
plt.imshow( X_train[0], cmap='gray' )
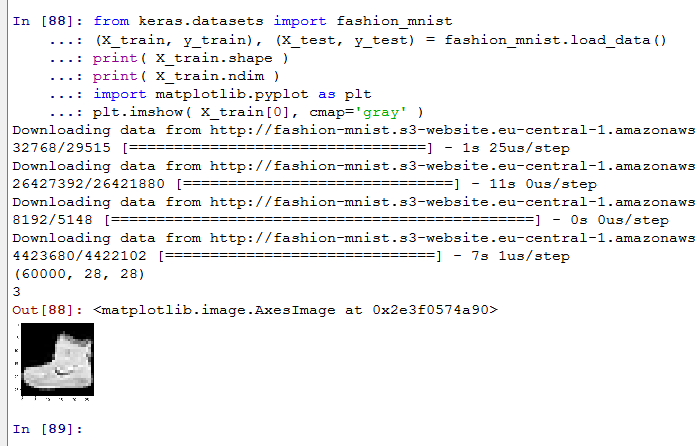
Fashino MNIST
「Python 処理系」で次を実行.(Anacondaに入っている開発環境 spyder を実行し,右下の ipython コンソールを使うのが簡単.)
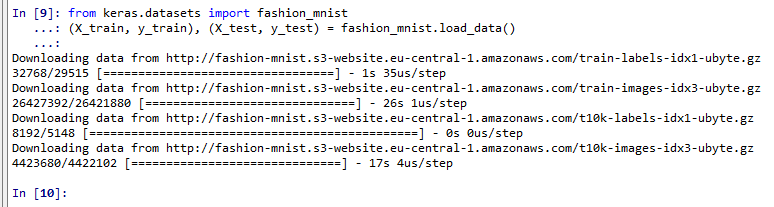
from keras.datasets import fashion_mnist
(X_train, y_train), (X_test, y_test) = fashion_mnist.load_data()
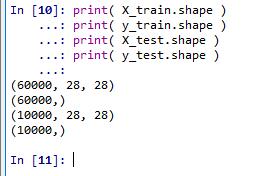
配列のサイズ確認
print( X_train.shape )
print( y_train.shape )
print( X_test.shape )
print( y_test.shape )
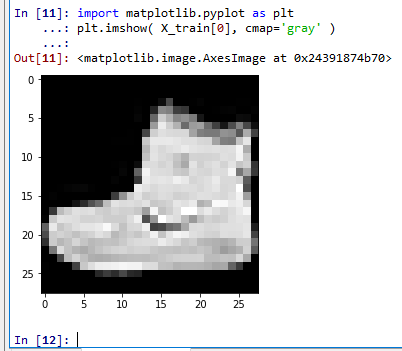
X_train の先頭要素の表示(確認のため)
import matplotlib.pyplot as plt
plt.imshow( X_train[0], cmap='gray' )
実習課題
Fashion MNIST データセットのうち学習用の配列データについて,配列の形,次元数,最初の画像の中身を,次のプログラムで確認しなさい
from keras.datasets import fashion_mnist
(X_train, y_train), (X_test, y_test) = fashion_mnist.load_data()
print( X_train.shape )
print( X_train.ndim )
import matplotlib.pyplot as plt
plt.imshow( X_train[0], cmap='gray' )