Blender のインストール(ソースコード,Build Tools for Visual Studio を使用を使用)(Windows 上)
Windows で,Blender 最新版をソースコードからビルドして,インストールする.
https://wiki.blender.org/wiki/Building_Blender/Windowsの手順に従う
Blender のインストールは,複数の方法がある.
- Blender の最新版を検証,開発者に貢献したいなどの場合には, ソースコードからビルドして,インストールする.このページで説明する.
- 安定版をインストールする手順は: 別ページ »で説明
Blenderは,3次元コンピュータグラフィックス・アニメーションソフトウェア. 3次元モデルの編集,レンダリング、光源やカメラ等を設定しての3次元コンピュータグラフィックス・アニメーション作成機能がある.
- ファイル形式は,Stanford Triangle Format (ply), Wavefront OBJ (obj), 3D Studio Max (3ds), Stereo-Litography (stl) 等に対応.
- Windows 版, Linux 版, Max OS X 版などがある.
【目次】
- 前準備
- Build Tools for Visual Studio 2022,NVIDIA ドライバ,NVIDIA CUDA ツールキット,NVIDIA cuDNN のインストール
- Blender のインストール(Build Tools for Visual Studio を利用)
- Blender の Python モジュールのインストール
【サイト内の関連ページ】
前準備
Python のインストール(Windows上)
注:既にPython(バージョン3.12を推奨)がインストール済みの場合は,この手順は不要である.
winget(Windowsパッケージマネージャー)を使用してインストールを行う
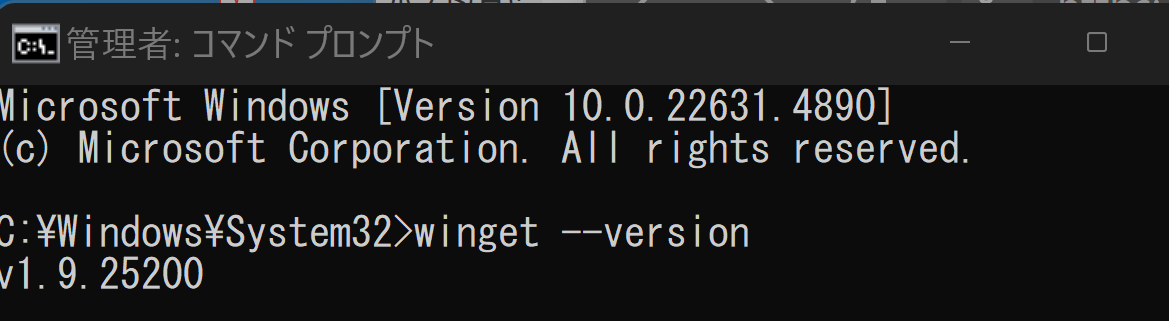
- Windowsで,管理者権限でコマンドプロンプトを起動(手順:Windowsキーまたはスタートメニュー >
cmdと入力 > 右クリック > 「管理者として実行」)。 - winget(Windowsパッケージマネージャー)が利用可能か確認する:
winget --version
- Pythonのインストール(下のコマンドにより Python 3.12 がインストールされる).
reg add "HKLM\SYSTEM\CurrentControlSet\Control\FileSystem" /v LongPathsEnabled /t REG_DWORD /d 1 /f
REM Python をシステム領域にインストール
winget install --scope machine --id Python.Python.3.12 -e --silent
REM Python のパス
set "INSTALL_PATH=C:\Program Files\Python312"
echo "%PATH%" | find /i "%INSTALL_PATH%" >nul
if errorlevel 1 setx PATH "%PATH%;%INSTALL_PATH%" /M >nul
echo "%PATH%" | find /i "%INSTALL_PATH%\Scripts" >nul
if errorlevel 1 setx PATH "%PATH%;%INSTALL_PATH%\Scripts" /M >nul
- Python詳細ガイド:Pythonまとめ »
【関連する外部サイト】
【サイト内の関連ページ】
Visual Studio 2022 Build Toolsとランタイムのインストール
管理者権限でコマンドプロンプトを起動(手順:Windowsキーまたはスタートメニュー > cmd と入力 > 右クリック > 「管理者として実行」)し、以下を実行する。管理者権限は、wingetの--scope machineオプションでシステム全体にソフトウェアをインストールするために必要である。
REM Visual Studio 2022 Build Toolsとランタイムのインストール
winget install --scope machine --wait --accept-source-agreements --accept-package-agreements Microsoft.VisualStudio.2022.BuildTools Microsoft.VCRedist.2015+.x64

REM インストーラーとインストールパスの設定
set VS_INSTALLER="C:\Program Files (x86)\Microsoft Visual Studio\Installer\vs_installer.exe"
set VS_PATH="C:\Program Files (x86)\Microsoft Visual Studio\2022\BuildTools"

REM C++開発ワークロードのインストール(次のコマンドは全体で1行である)
%VS_INSTALLER% modify --installPath %VS_PATH% --add Microsoft.VisualStudio.Workload.VCTools --add Microsoft.VisualStudio.Component.VC.Tools.x86.x64 --add Microsoft.VisualStudio.Component.Windows11SDK.22621 --includeRecommended --quiet --norestart
Git のインストール(Windows 上)
Gitは,バージョン管理システム.ソースコードの管理や複数人での共同に役立つ.
【サイト内の関連ページ】 Windows での Git のインストール: 別ページ »で説明
【関連する外部ページ】 Git の公式ページ: https://git-scm.com/
Gitのインストール
管理者権限でコマンドプロンプトを起動(手順:Windowsキーまたはスタートメニュー > cmd と入力 > 右クリック > 「管理者として実行」)し、以下を実行する。管理者権限は、wingetの--scope machineオプションでシステム全体にソフトウェアをインストールするために必要となる。
REM Git をシステム領域にインストール
7-Zip のインストール
管理者権限でコマンドプロンプトを起動(手順:Windowsキーまたはスタートメニュー > cmd と入力 > 右クリック > 「管理者として実行」)し、以下を実行する。管理者権限は、wingetの--scope machineオプションでシステム全体にソフトウェアをインストールするために必要となる。
REM 7-Zip をシステム領域にインストール
winget install --scope machine --id 7zip.7zip -e --silent
REM 7-Zip のパス設定
set "SEVENZIP_PATH=C:\Program Files\7-Zip"
if exist "%SEVENZIP_PATH%" (
echo "%PATH%" | find /i "%SEVENZIP_PATH%" >nul
if errorlevel 1 setx PATH "%PATH%;%SEVENZIP_PATH%" /M >nul
)
CMake のインストール
CMake の公式ダウンロードページ: https://cmake.org/download/
Subversion for Windows (SlikSVN) のインストール
Subversion for Windows (SlikSVN) のインストール: 別ページ »で説明
Subversion for Windows (SlikSVN) のページ: https://sliksvn.com/
NVIDIA ドライバのインストール(Windows 上)
NVIDIA ドライバとは
NVIDIA ドライバは,NVIDIA製GPUをWindowsシステム上で適切に動作させるための基盤となるソフトウェアです.このドライバをインストールすることにより,GPUの性能を最大限に引き出し,グラフィックス処理はもちろん,CUDAを利用したAI関連アプリケーションなどの計算速度を向上させることが期待できます.
ドライバは通常、NVIDIA公式サイトからダウンロードするか、NVIDIA GeForce Experienceソフトウェアを通じてインストール・更新します。
公式サイト: https://www.nvidia.co.jp/Download/index.aspx?lang=jp
【サイト内の関連ページ】
- (再掲) NVIDIA グラフィックス・ボードの確認
インストールするドライバを選択するために、まずご使用のPCに搭載されているNVIDIAグラフィックス・ボードの種類を確認します。(確認済みであれば、この手順は不要です。)
Windows のコマンドプロンプトで次のコマンドを実行します。
wmic path win32_VideoController get name
- NVIDIA ドライバのダウンロード
確認したグラフィックス・ボードのモデル名と、お使いのWindowsのバージョン(例: Windows 11, Windows 10 64-bit)に対応するドライバを、以下のNVIDIA公式サイトからダウンロードします.
https://www.nvidia.co.jp/Download/index.aspx?lang=jp
サイトの指示に従い、製品タイプ、製品シリーズ、製品ファミリー、OS、言語などを選択して検索し、適切なドライバ(通常は最新のGame Ready ドライバまたはStudio ドライバ)をダウンロードします。
- ドライバのインストール
ダウンロードしたインストーラー(.exeファイル)を実行し、画面の指示に従ってインストールを進めます。「カスタムインストール」を選択すると、インストールするコンポーネント(ドライバ本体、GeForce Experience、PhysXなど)を選ぶことができます。通常は「高速(推奨)」で問題ありません。
インストール完了後、システムの再起動を求められる場合があります。
NVIDIA CUDA ツールキット 11.8 のインストール(Windows 上)
CUDAツールキットには、GPUでプログラムを実行するためのライブラリ、`nvcc`コンパイラ、開発ツールなどが含まれています。ここでは`winget`を使ってCUDA 11.8をインストールする手順を示します。
NVIDIA CUDA ツールキットの概要と注意点
NVIDIAのGPUを使用して並列計算を行うための開発・実行環境です。
主な機能: GPU を利用した並列処理のコンパイルと実行、GPU のメモリ管理、C++をベースとした拡張言語(CUDA C/C++)とAPI、ライブラリ(cuBLAS, cuFFTなど)を提供します。
【NVIDIA CUDA ツールキットの動作に必要なもの】
- CUDA対応のNVIDIA GPU。
- 対応するNVIDIA ドライバ。
- サポートされているバージョンのC++コンパイラ (Visual StudioまたはBuild Toolsをインストール済み)。
【Windows でインストールするときの一般的な注意点】
- Windows では,NVIDIA CUDA ツールキットのインストール中は,予期せぬ問題を避けるため、なるべく他のアプリケーションは終了しておくことが推奨されます。
- インストール後に環境変数が正しく設定されているか確認することが重要です。
【関連する外部ページ】
- NVIDIA CUDA ツールキットのアーカイブの公式ページ: https://developer.nvidia.com/cuda-toolkit-archive (他のバージョンが必要な場合)
- NVIDIA CUDA ツールキット の公式ドキュメント: https://docs.nvidia.com/cuda/index.html
- NVIDIA CUDA ツールキットのインストールに関する,NVIDIA CUDA Installation Guide for Windows: https://docs.nvidia.com/cuda/cuda-installation-guide-windows/index.html
【関連項目】
NVIDIA CUDA ツールキットの概要, NVIDIA CUDA ツールキットの他バージョンのインストール
- (再掲) 他のウィンドウを閉じる:インストール中のコンフリクトを避けるため、可能な限り他のアプリケーションを終了します。
- Windows で,コマンドプロンプトを管理者権限で起動します。
-
winget コマンドで CUDA 11.8 をインストールします。
以下のコマンドは、(必要であれば)NVIDIA GeForce Experienceと、指定したバージョンのNVIDIA CUDA ツールキット (11.8) をインストールします。また、CUDA_HOME 環境変数を設定します(一部のツールで参照されることがあります)。
rem グラフィックボードの確認 (参考)
wmic path win32_VideoController get name
rem CUDA Toolkit 11.8 のインストール
winget install --scope machine Nvidia.CUDA --version 11.8
rem CUDA_HOME 環境変数の設定 (システム環境変数として設定)
powershell -command "[System.Environment]::SetEnvironmentVariable(\"CUDA_HOME\", \"C:\Program Files\NVIDIA GPU Computing Toolkit\CUDA\v11.8\", \"Machine\")"
注釈: これは特定のバージョン(11.8)をインストールする例です。他のバージョンをインストールする場合は --version オプションを適宜変更してください(例: --version 11.2)。利用可能なバージョンは winget search Nvidia.CUDA で確認できます。
- (重要) ユーザ環境変数 TEMP の設定(日本語ユーザ名の場合)
Windows のユーザ名に日本語(マルチバイト文字)が含まれている場合、CUDAコンパイラ nvcc が一時ファイルの作成に失敗し、コンパイルが正常に動作しないことがあります(エラーメッセージが表示されない場合もあるため注意が必要です)。この問題を回避するために、ユーザ環境変数 TEMP および TMP を、ASCII文字のみのパス(例: C:\TEMP)に変更します。
管理者権限のコマンドプロンプトで,次のコマンドを実行して C:\TEMP ディレクトリを作成し、ユーザ環境変数 TEMP と TMP を設定します。
mkdir C:\TEMP
powershell -command "[System.Environment]::SetEnvironmentVariable(\"TEMP\", \"C:\TEMP\", \"User\")"
powershell -command "[System.Environment]::SetEnvironmentVariable(\"TMP\", \"C:\TEMP\", \"User\")"
この設定は、コマンドプロンプトを再起動するか、Windowsに再サインインした後に有効になります。
Blender のインストール(Build Tools for Visual Studio を利用)(Windows 上)
次の公式ページの手順による
- タグの確認
インストールしたい Blender のバージョンにあうタグを,次のページで探す.
- Visual Studio の x64 Native Tools コマンドプロンプトを起動.
起動は,Windows のメニューで「Visual Studio 20..」の下の「x64 Native Tools コマンドプロンプト (x64 Native Tools Command Prompt)」を選ぶ.「x64」は,64ビット版の意味である.
「x64 Native Tools コマンドプロンプト (x64 Native Tools Command Prompt)」がないとき:
C++ ビルドツール (Build Tools) のインストールを行うことで, 「x64 Native Tools コマンドプロンプト (x64 Native Tools Command Prompt)」がインストールされる.その手順は,別ページ »で説明
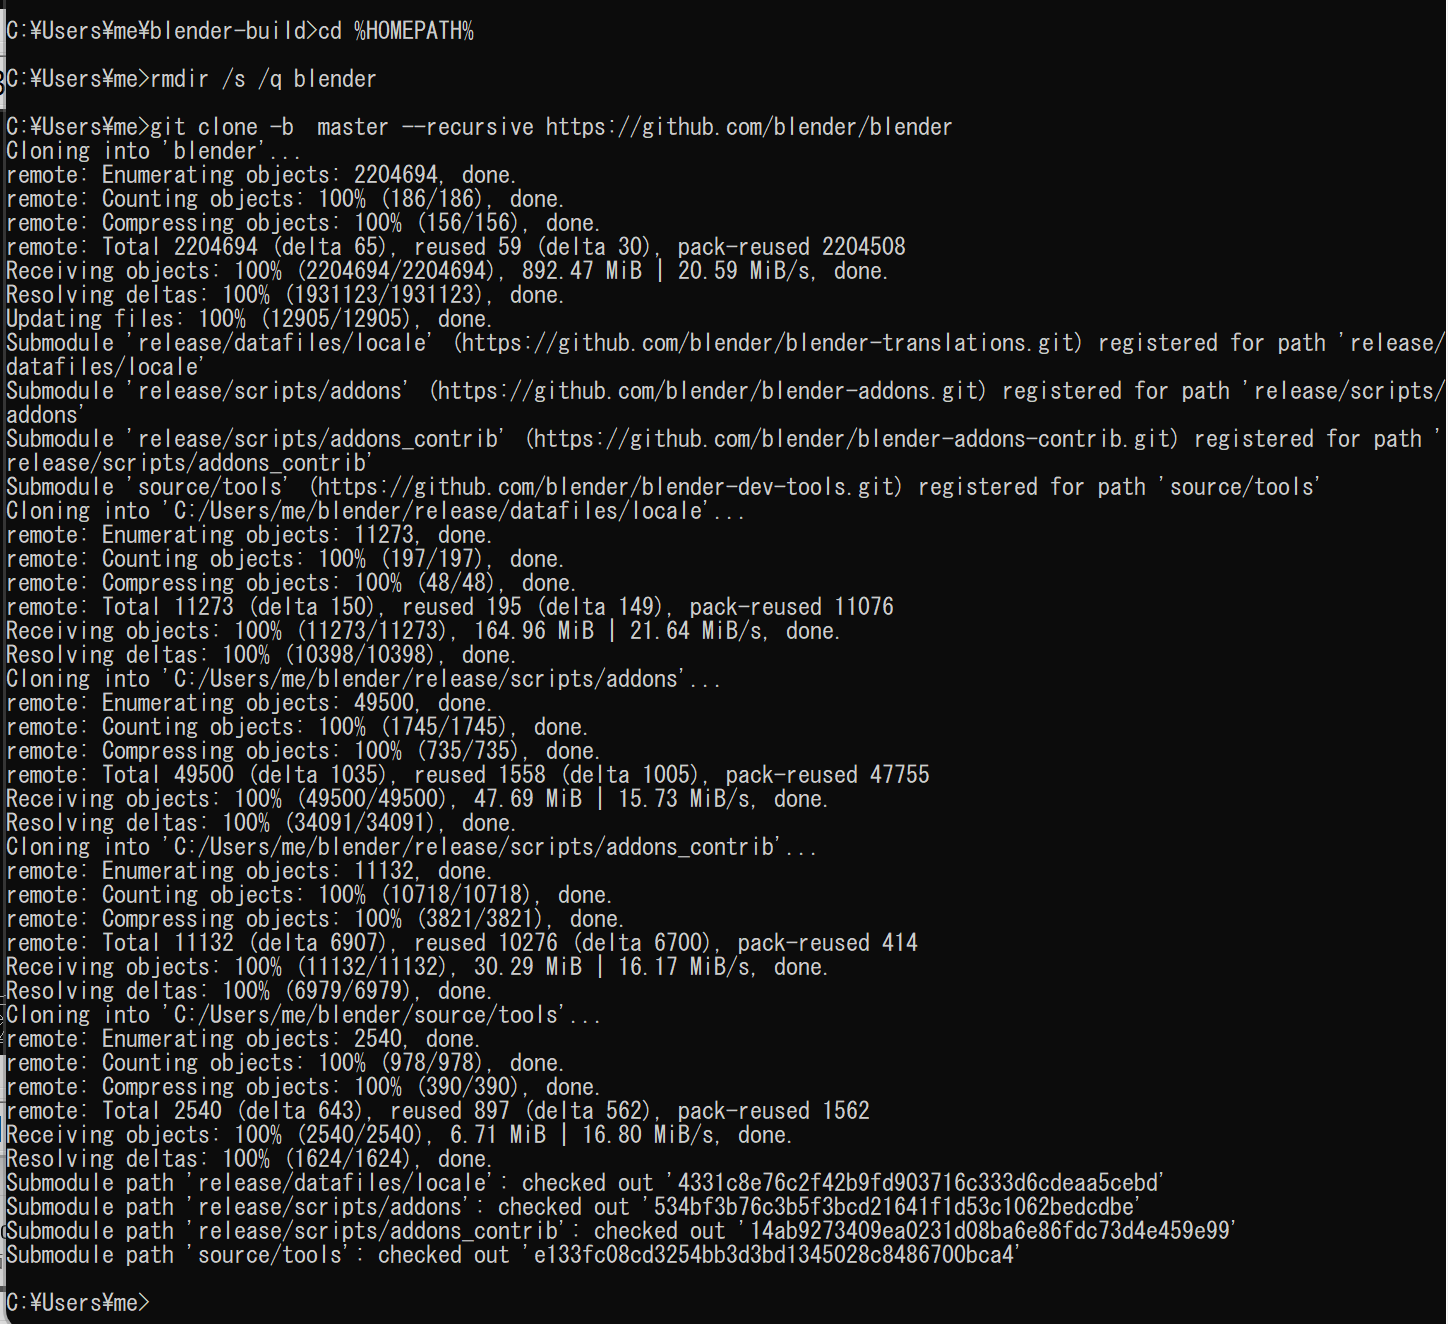
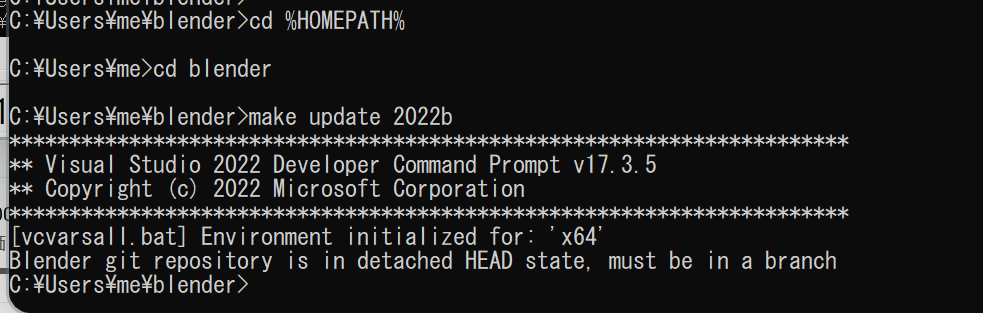
- Blender のソースコードをダウンロード
「master」のところには,使用したいバージョンの Blender のブランチを指定する.
cd /d c:%HOMEPATH%
rmdir /s /q blender
git clone -b master --recursive https://github.com/blender/blender
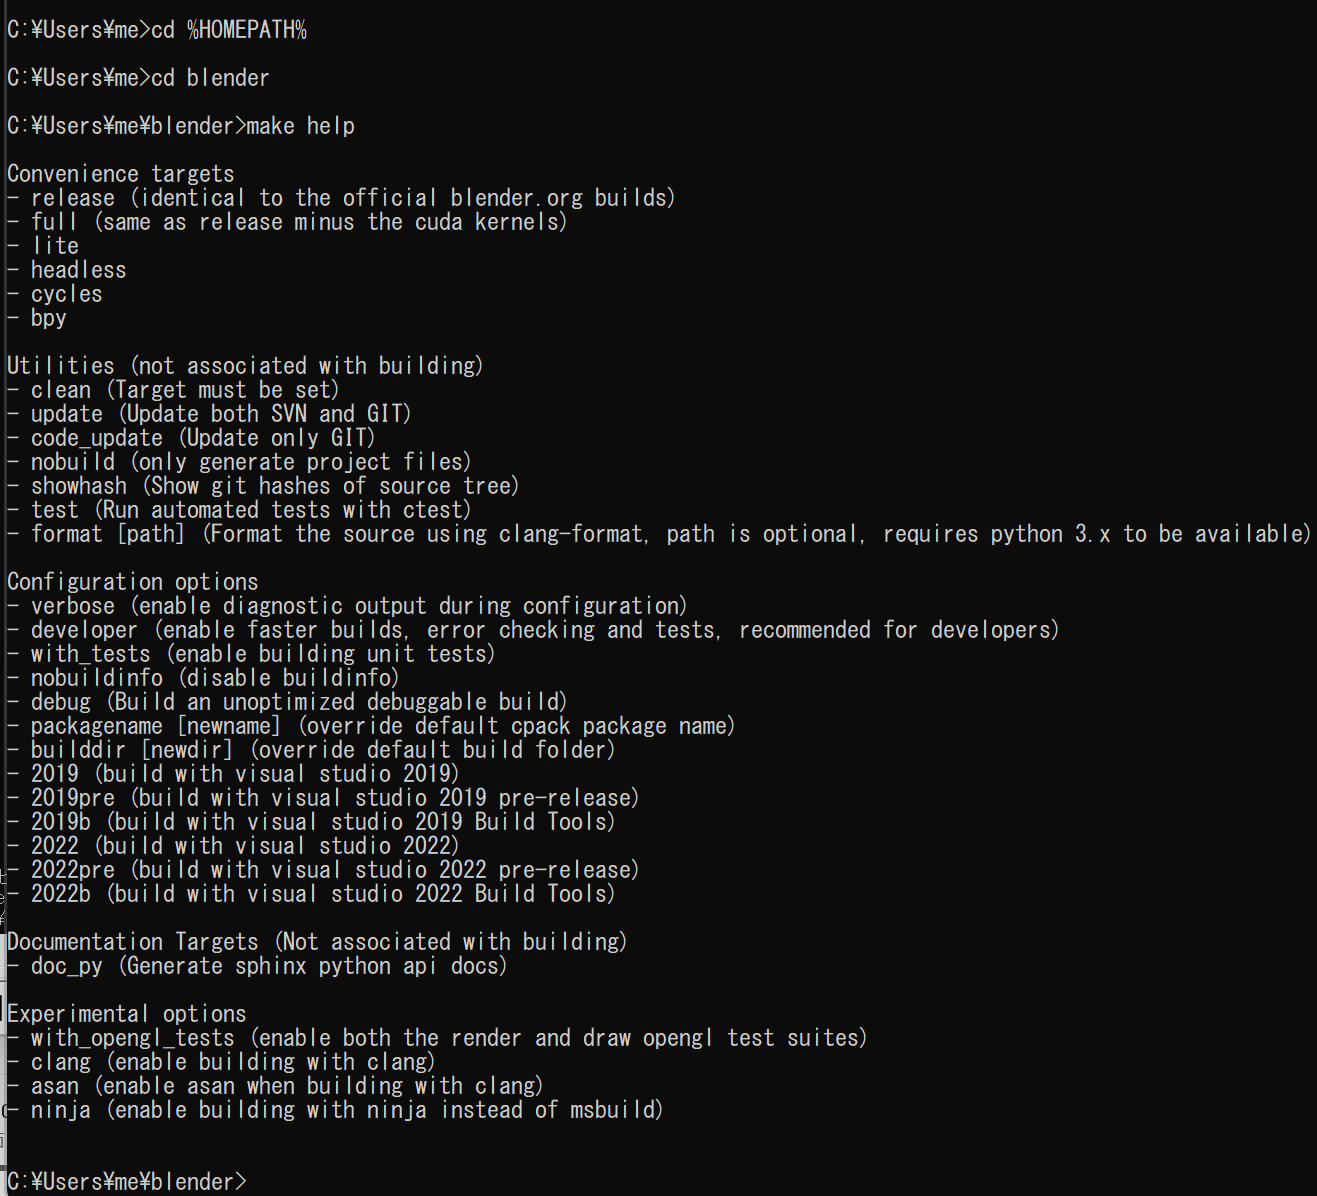
- make help を実行し、make のオプションを確認
Blender のソースコードに付属の make.bat を使用している.
cd /d c:%HOMEPATH%
cd blender
make help
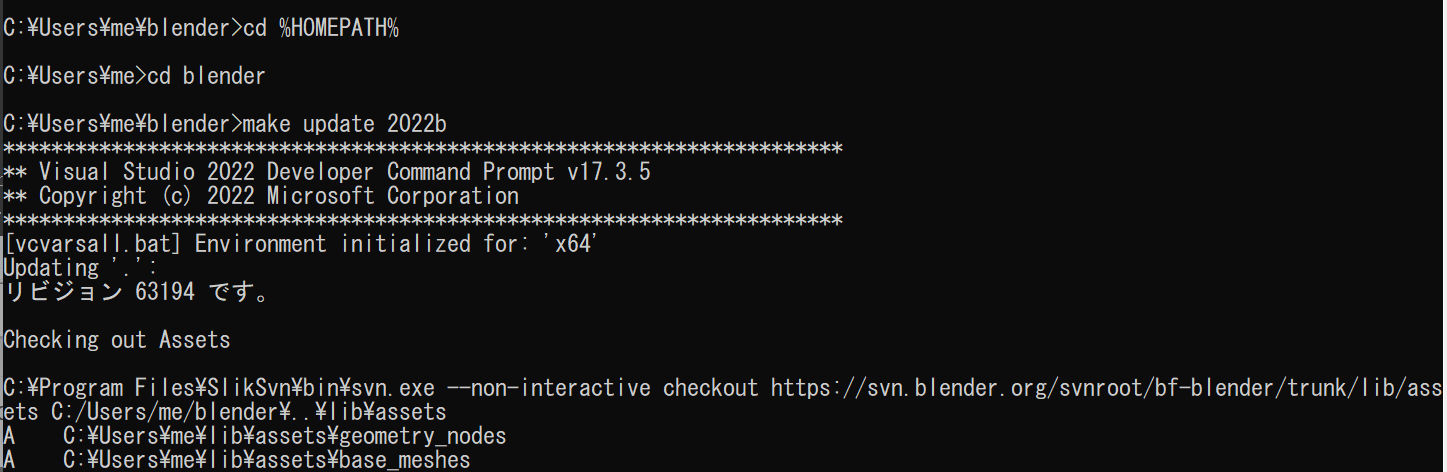
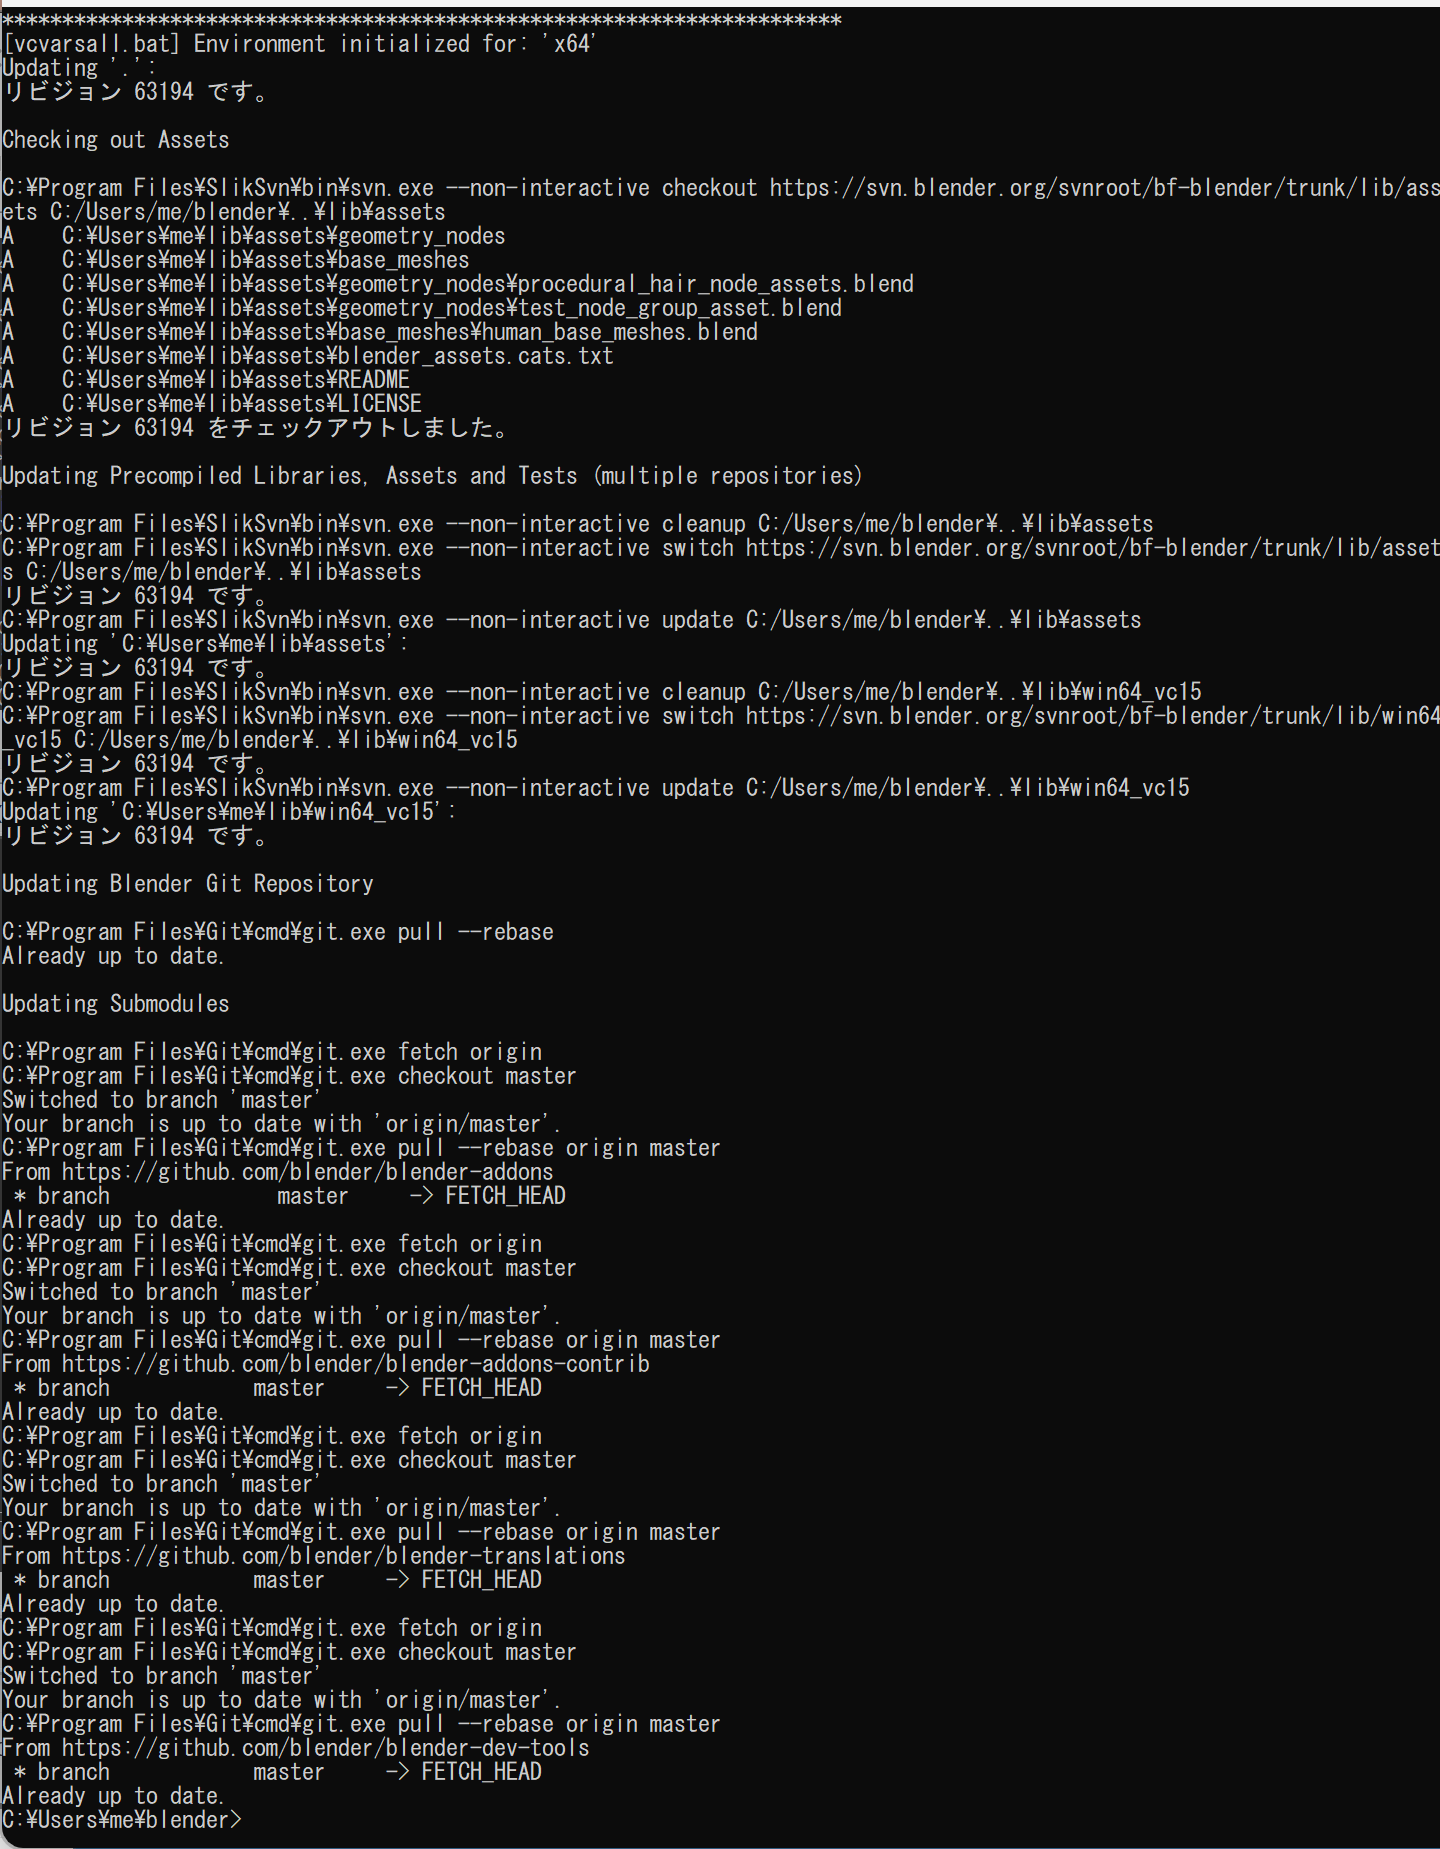
- Blender のコンパイル済みのライブラリをダウンロード
「2022b」のところは,
さきほど make help を実行したときの表示を参考に,必要に応じて変更する.
Visual Studio Community 2022 を使うときは「make update 2022b」ではなく,「make update 2022」 を実行.
cd /d c:%HOMEPATH%
cd blender
make update 2022b
(以下省略)
「Would you like to download them?」と表示されたときは「y」を入れる.
終了まで時間がかかるので,しばらく待つ
ダウンロード終了を確認する.
- 終了の確認
- ソースコードからビルドする
cmake のオプションの
「Visual Studio 17 2022」のところは,
使用する Visual Studio のバージョンにあわせること.
Visual Studio 2022 のときは,「Visual Studio 17 2022」.
Visual Studio 2019 のときは,「Visual Studio 16 2019」.
公式ページの手順に従うが,公式ページの手順通りに実行するとエラーが出たので,
手順を変えている.
終了まで時間がかかるので,しばらく待つ
cd /d c:%HOMEPATH%
cd blender
del CMakeCache.txt
rmdir /s /q CMakeFiles\
rmdir /s /q CMakeFiles
cd /d c:%HOMEPATH%
rmdir /s /q blender-build
mkdir blender-build
cd blender-build
cmake ..\blender -G "Visual Studio 17 2022" -A x64 -T host=x64 ^
-DCMAKE_INSTALL_PREFIX="c:\blender"
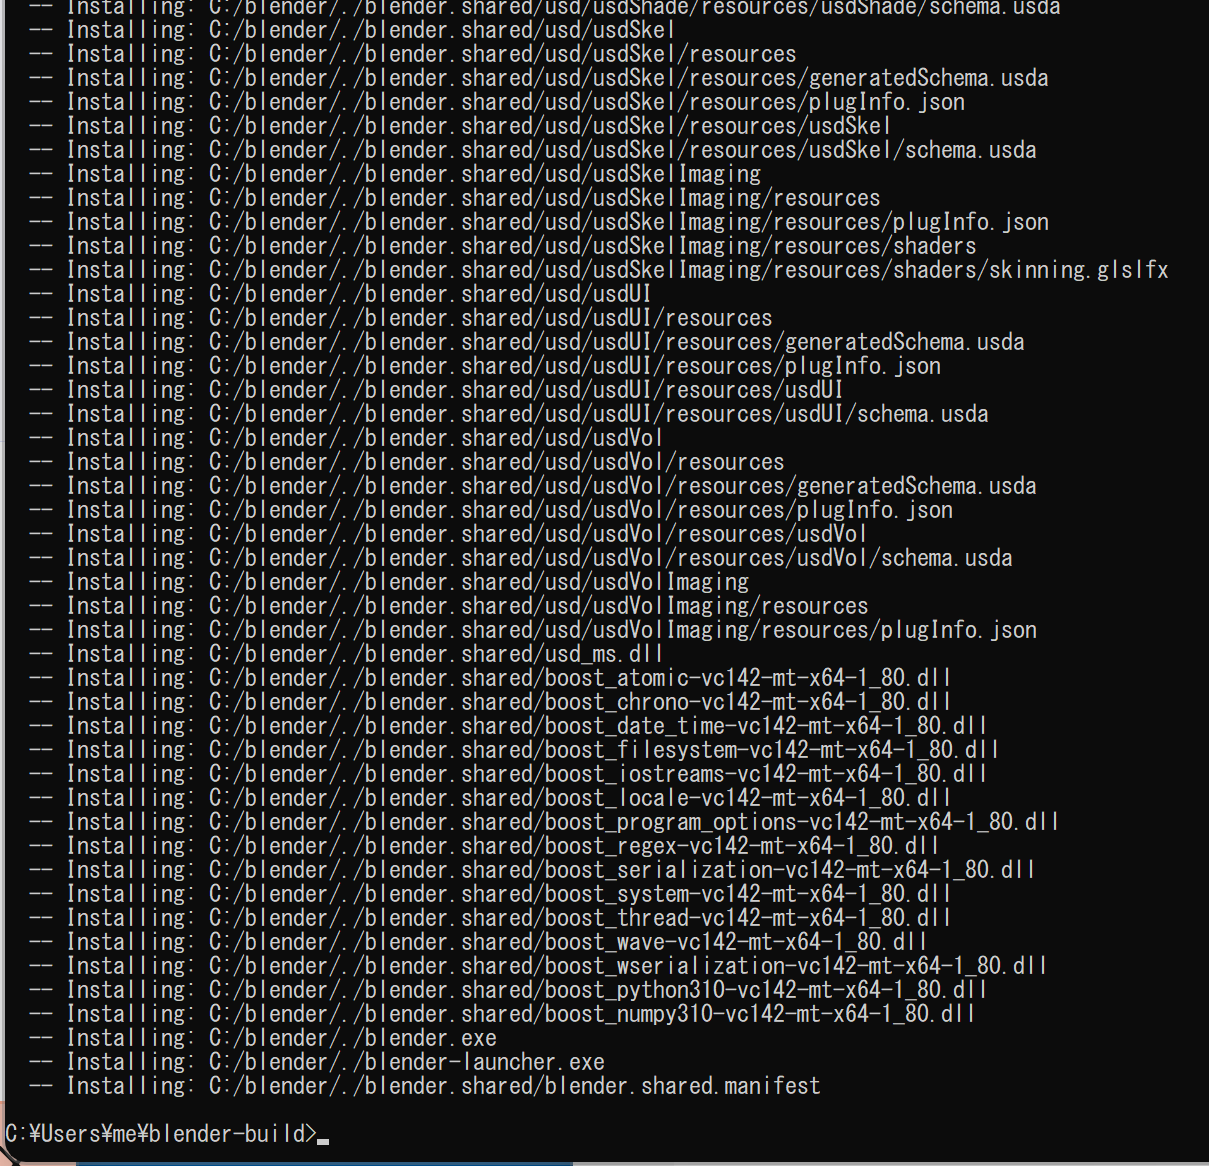
cmake --build . --config RELEASE
cmake --build . --config RELEASE --target INSTALL -- /m:4
- 実行結果の確認
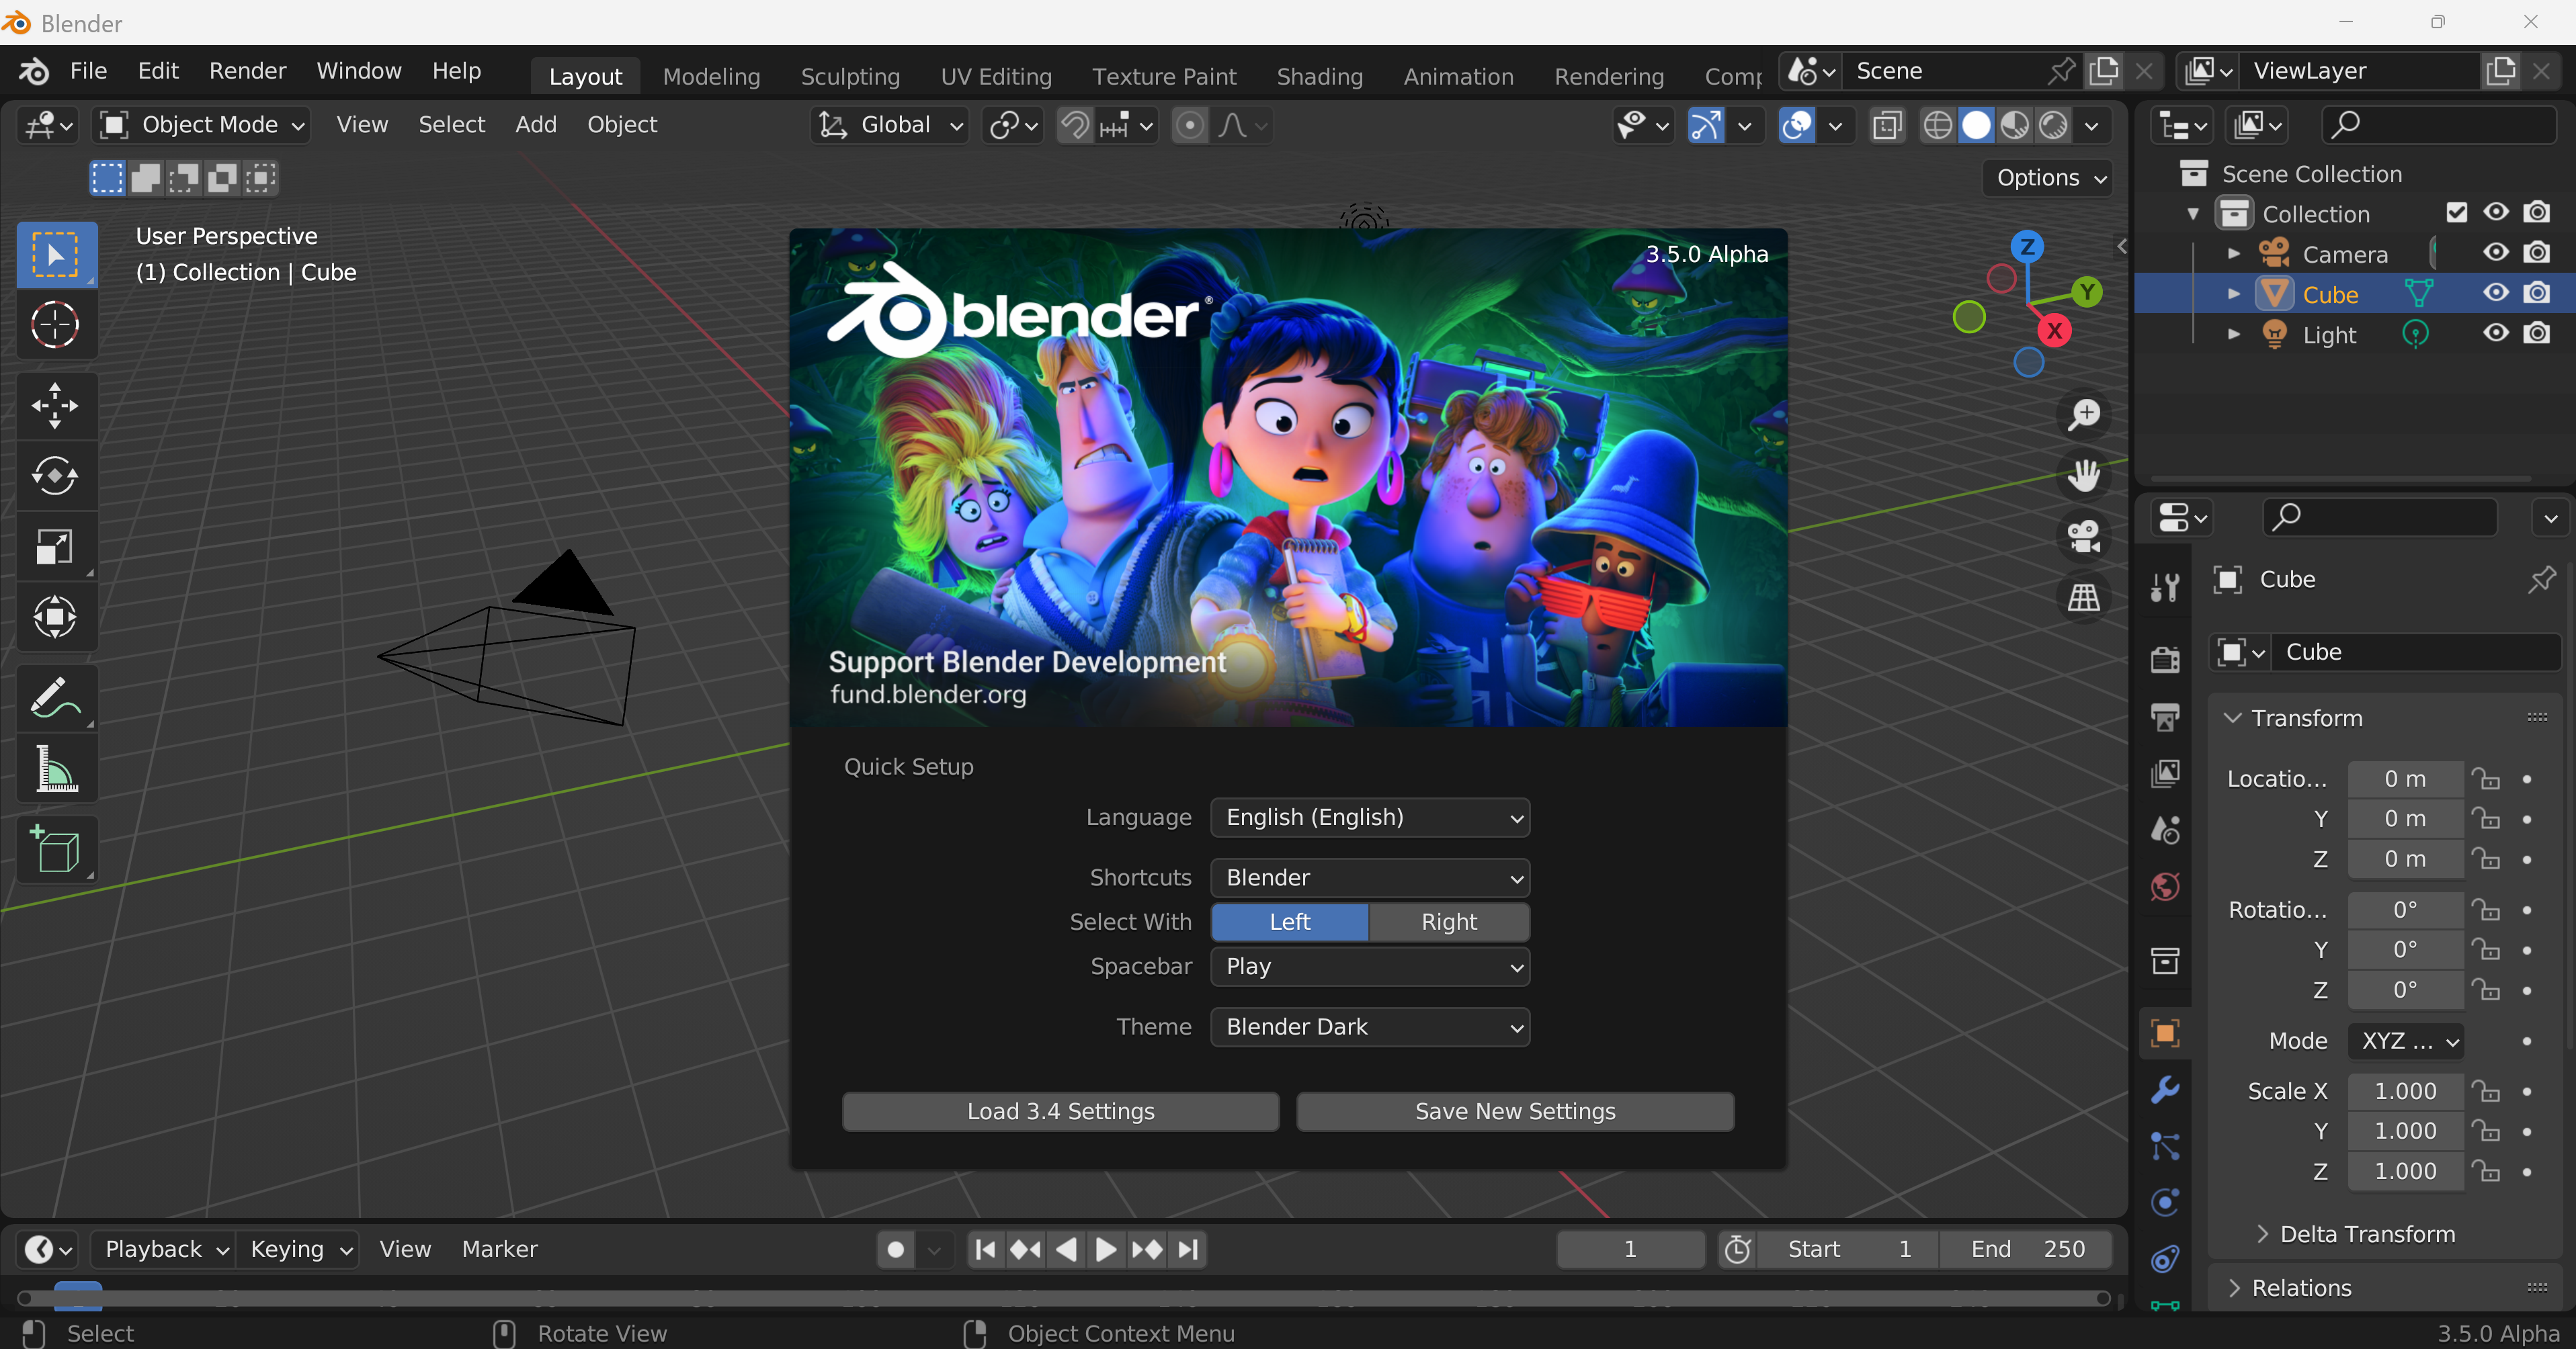
- 確認のため Blender を起動してみる
c:\blender\blender.exe

- Blender の画面が開くので確認する
Blender の Python モジュールのインストール
次のページの記載による:
https://wiki.blender.org/wiki/Building_Blender/Other/BlenderAsPyModule
- Blender の Python モジュールのビルド
cd /d c:%HOMEPATH%
cd blender
del CMakeCache.txt
rmdir /s /q CMakeFiles\
rmdir /s /q CMakeFiles
cd /d c:%HOMEPATH%
rmdir /s /q blender-build
mkdir blender-build
cd blender-build
cmake ..\blender -G "Visual Studio 17 2022" -A x64 -T host=x64 ^
-DCMAKE_INSTALL_PREFIX="c:\blender" ^
-DWITH_PYTHON_INSTALL=OFF -DWITH_AUDASPACE=OFF -DWITH_PYTHON_MODULE=ON ^
-DWITH_WINDOWS_BUNDLE_CRT=OFF
cmake --build . --config RELEASE
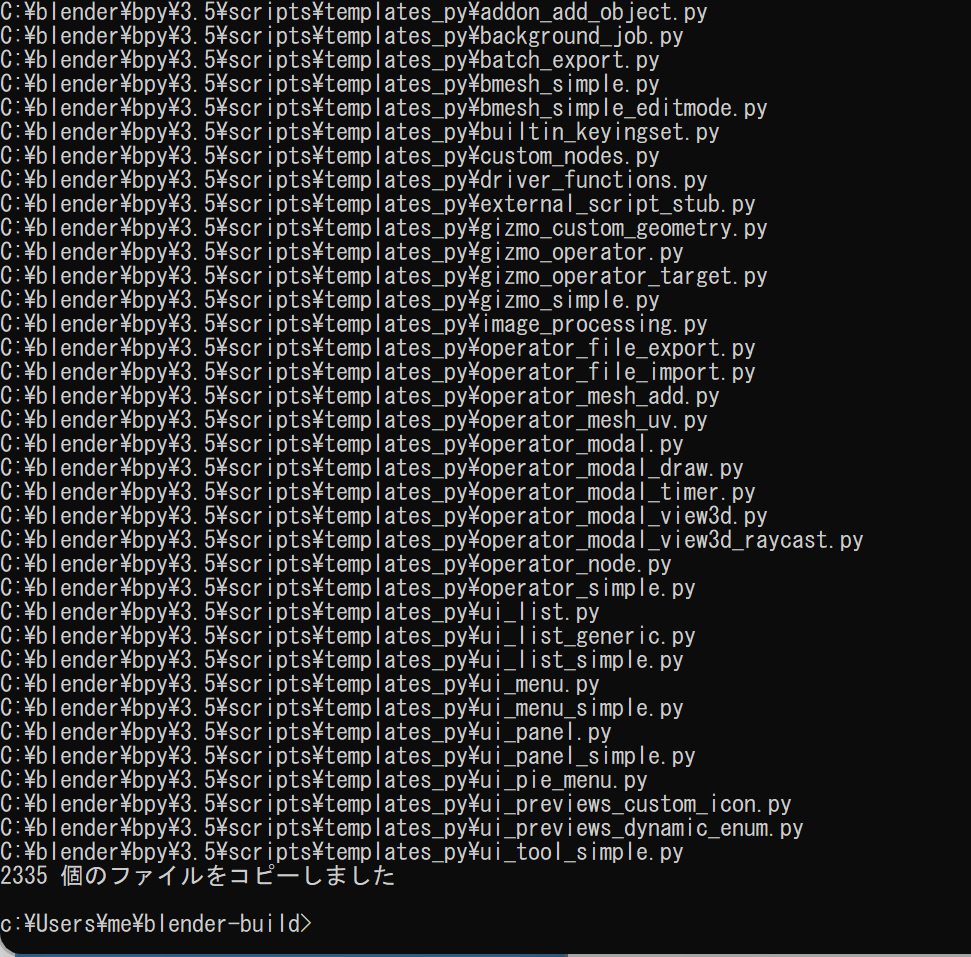
cmake --build . --config RELEASE --target INSTALL -- /m:4
xcopy /E c:\blender\bpy "C:\Program Files\Python310\Lib\site-packages\bpy"
- 終了の確認
エラーメッセージが出ていないこと.
- インストールできたかの確認(書きかけ.うまく動作しません.申し訳ございません)
コマンドプロンプトで次のコマンドを実行する.
エラーメッセージが出なければ OK.
python -c "import bpy; scene = bpy.data.scenes['Scene']; print(scene)"
