Windows 11の基本設定
【概要】Windowsでは、不要なプリインストールアプリの削除、ディスクのクリーンアップ、空き領域のゼロフィル(セキュリティ向上のためのデータ消去手法)、長いパス名制限(従来の260文字制限)の緩和、システムサービスの最適化などの設定をコマンドラインから実行できる。
【目次】
- BIOSメニューへのアクセス
- バックアップと復元
- Windowsの更新
- Win11Debloat
- 不要なプリインストールアプリの削除
- サービスの停止
- DNSサーバアドレスの設定
- その他の設定
- ディスククリーンアップとデフラグ
- システムの一般的な問題と解決方法
【サイト内のWindowsセットアップ関連ページ】
- Windows システムの基本操作ガイド: 別ページ »で説明
- Windows 11インストールガイド: 別ページ »で説明
- Windows 11の基本設定: 別ページ »で説明
- Windows 11のおすすめソフトウェア: 別ページ »で説明
- Windows のまとめ: 別ページ »で説明
- Windows上のLinux開発環境構築ガイド:WSL 2とUbuntuのインストール・設定・運用: 別ページ »で説明
- Windows の種々のソフトウェアのインストール: 別ページ »で説明
【外部リソース】
- Windows 11のディスクイメージのダウンロードのページ: https://www.microsoft.com/ja-jp/software-download/windows11
- Rufusのページ: https://rufus.ie/ja/
【コマンドプロンプトの管理者権限での起動方法】
本ページの多くの操作では、コマンドプロンプトを管理者権限で起動する必要がある。手順:Windowsキーまたはスタートメニューを押し、「cmd」と入力し、右クリックメニューなどで「管理者として実行」を選択する。
1. BIOSメニューへのアクセス
BIOSメニューへのアクセスは、以下のコマンドで実行できる。
shutdown /r /fw /t 0
このコマンドの説明:
- /r:再起動
- /fw:BIOS/UEFIファームウェア設定画面へ移行
- /t 0:遅延時間0秒(即時実行)
これにより、システムは再起動し、直接BIOS/UEFI設定画面に入る。このコマンドを使用することで、手動操作なしでBIOS設定画面にアクセスすることができる。
2. バックアップと復元
システム設定を変更する前に、重要なデータのバックアップとシステムの復元ポイントを作成することを強く推奨する。これにより、設定変更後に問題が発生した場合でも、安全に以前の状態に戻すことができる。
ファイルのバックアップ方法
重要なファイルを外部ドライブにコピーしてバックアップを作成する。
- 外部ドライブ(USBメモリ、外付けHDD、外付けSSDなど)をコンピュータに接続する。
- エクスプローラーを開き、バックアップしたいファイルやフォルダを選択する。
- 選択したファイルやフォルダを右クリックし、「コピー」を選択する。
- 外部ドライブを開き、適切な場所で右クリックし、「貼り付け」を選択する。
- コピーが完了するまで待つ。大量のファイルや大容量のファイルの場合、時間がかかる場合がある。
または、コマンドプロンプトを使用してバックアップを作成することもできる。
コマンドプロンプトを管理者権限で起動する。
次のコマンドを実行する(例:Cドライブのユーザーフォルダ全体をEドライブにバックアップする場合)。
robocopy C:\Users E:\Backup\Users /E /ZB /DCOPY:T /COPYALL /R:3 /W:5 /MT:8
このコマンドの説明:
- /E:空のディレクトリを含むすべてのサブディレクトリをコピー
- /ZB:再起動可能モード(ネットワーク中断時の復旧機能付き)
- /DCOPY:T:ディレクトリのタイムスタンプをコピー
- /COPYALL:すべてのファイル情報(属性、タイムスタンプ、セキュリティ、所有者情報など)をコピー
- /R:3:失敗時の再試行回数を3回に設定
- /W:5:再試行間の待機時間を5秒に設定
- /MT:8:マルチスレッドコピー(8スレッド)でコピー速度を向上
システムの復元ポイントの作成
システムの復元ポイントを作成することで、システム設定を以前の状態に戻すことができる。
方法1:GUIを使用した作成
- Windowsキーを押し、「復元ポイントの作成」と入力して検索する。
- 「復元ポイントの作成」を選択し、「システムのプロパティ」ウィンドウを開く。
- 「システムの保護」タブを選択する。
- 「作成」ボタンをクリックする。
- 復元ポイントの説明を入力する(例:「システム設定変更前のバックアップ」)。
- 「作成」ボタンをクリックし、復元ポイントの作成が完了するまで待つ。
方法2:PowerShellを使用した作成
PowerShellを管理者として実行する。
次のコマンドを実行する。
Checkpoint-Computer -Description "システム設定変更前のバックアップ" -RestorePointType "MODIFY_SETTINGS"
方法3:コマンドプロンプトを使用した作成
コマンドプロンプトを管理者権限で起動する。
次のコマンドを実行する。
wmic.exe /Namespace:\\root\default Path SystemRestore Call CreateRestorePoint "システム設定変更前のバックアップ", 100, 7
復元ポイントからの復旧
システム設定の変更後に問題が発生した場合、復元ポイントを使用して以前の状態に戻すことができる。
方法1:GUIを使用した復旧(Windowsが正常に起動する場合)
- Windowsキーを押し、「復元ポイントの作成」と入力して検索する。
- 「復元ポイントの作成」を選択し、「システムのプロパティ」ウィンドウを開く。
- 「システムの保護」タブを選択する。
- 「システムの復元」ボタンをクリックする。
- 「次へ」をクリックし、復元ポイントの一覧から適切な復元ポイントを選択する。
- 「影響を受けるプログラムの検出」をクリックして、復元によって影響を受けるプログラムを確認する(任意)。
- 「次へ」をクリックし、復元ポイントの内容を確認する。
- 「完了」をクリックし、システムの復元を開始する。
- システムが再起動され、復元が完了する。
方法2:コマンドプロンプトを使用した復旧(Windowsが正常に起動する場合)
コマンドプロンプトを管理者権限で起動する。
次のコマンドを実行する。
rstrui.exe
上記のコマンドで、システムの復元ウィンドウが開く。その後、方法1の手順5以降と同様の操作を実行する。
方法3:セーフモードからの復旧(Windowsが正常に起動しない場合)
- Windowsが起動しない場合、電源ボタンを長押しして強制終了し、再度電源を入れる。この操作を2〜3回繰り返すと、自動修復モードが起動する。
- 「詳細オプション」を選択する。
- 「トラブルシューティング」を選択する。
- 「詳細オプション」を選択する。
- 「システムの復元」を選択する。
- 管理者アカウントを選択し、パスワードを入力する。
- 復元ポイントの一覧から適切な復元ポイントを選択し、「次へ」をクリックする。
- 「完了」をクリックし、システムの復元を開始する。
- システムが再起動され、復元が完了する。
【注意事項】
システムの復元は、システムファイルとレジストリ設定を以前の状態に戻すが、個人ファイル(ドキュメント、写真、音楽など)には影響しない。ただし、復元ポイント作成後にインストールしたプログラムやドライバは削除される可能性があるため、注意が必要である。また、復元ポイントからの復旧を実行する前に、可能であれば重要なファイルのバックアップを再度確認することを推奨する。
3. Windowsの更新
Windowsの更新を実行する。
Windowsで、コマンドプロンプトを管理者権限で起動する。
次のコマンドを実行する。
powershell -command "Start-Process ms-settings:windowsupdate"

【Windowsの更新に関する重要事項】
Windows の更新は、Windows Subsystem for Linux(WSL)の正常な動作を確保するために不可欠である(特に、WSLのカーネルインターフェースとの互換性維持のため)。さらに、システムのセキュリティ維持においても重要な役割を果たす。
ただし、更新によりシステムの安定性が損なわれ、起動不能になる可能性にも注意が必要である。このリスクに備え、重要データのバックアップを強く推奨する。バックアップは、様々なシステムトラブルからの復旧に有効である。また、起動可能であっても問題が発生した場合は、システムの復元ポイントを活用した復旧作業を実施する。
4. Win11Debloat
Win11Debloatは、Windowsの簡素化と最適化を目的としたPowerShellスクリプトである。MITライセンスで公開されている。PowerShellコマンドにより実行可能で、監査モードやユーザー設定の一括適用機能を提供する。主要機能は次の通りである。
- 不要なプリインストールアプリの削除
- テレメトリーの無効化
- 広告・提案機能の停止
- Bing検索やCopilotの無効化
- ファイル拡張子の表示
- 広告の削除
URL:https://github.com/Raphire/Win11Debloat
実行方法
Windowsで、コマンドプロンプトを管理者権限で起動する。
次のコマンドを実行する。
powershell -command "irm https://github.com/Raphire/Win11Debloat/releases/latest/download/Win11Debloat.ps1 | iex"
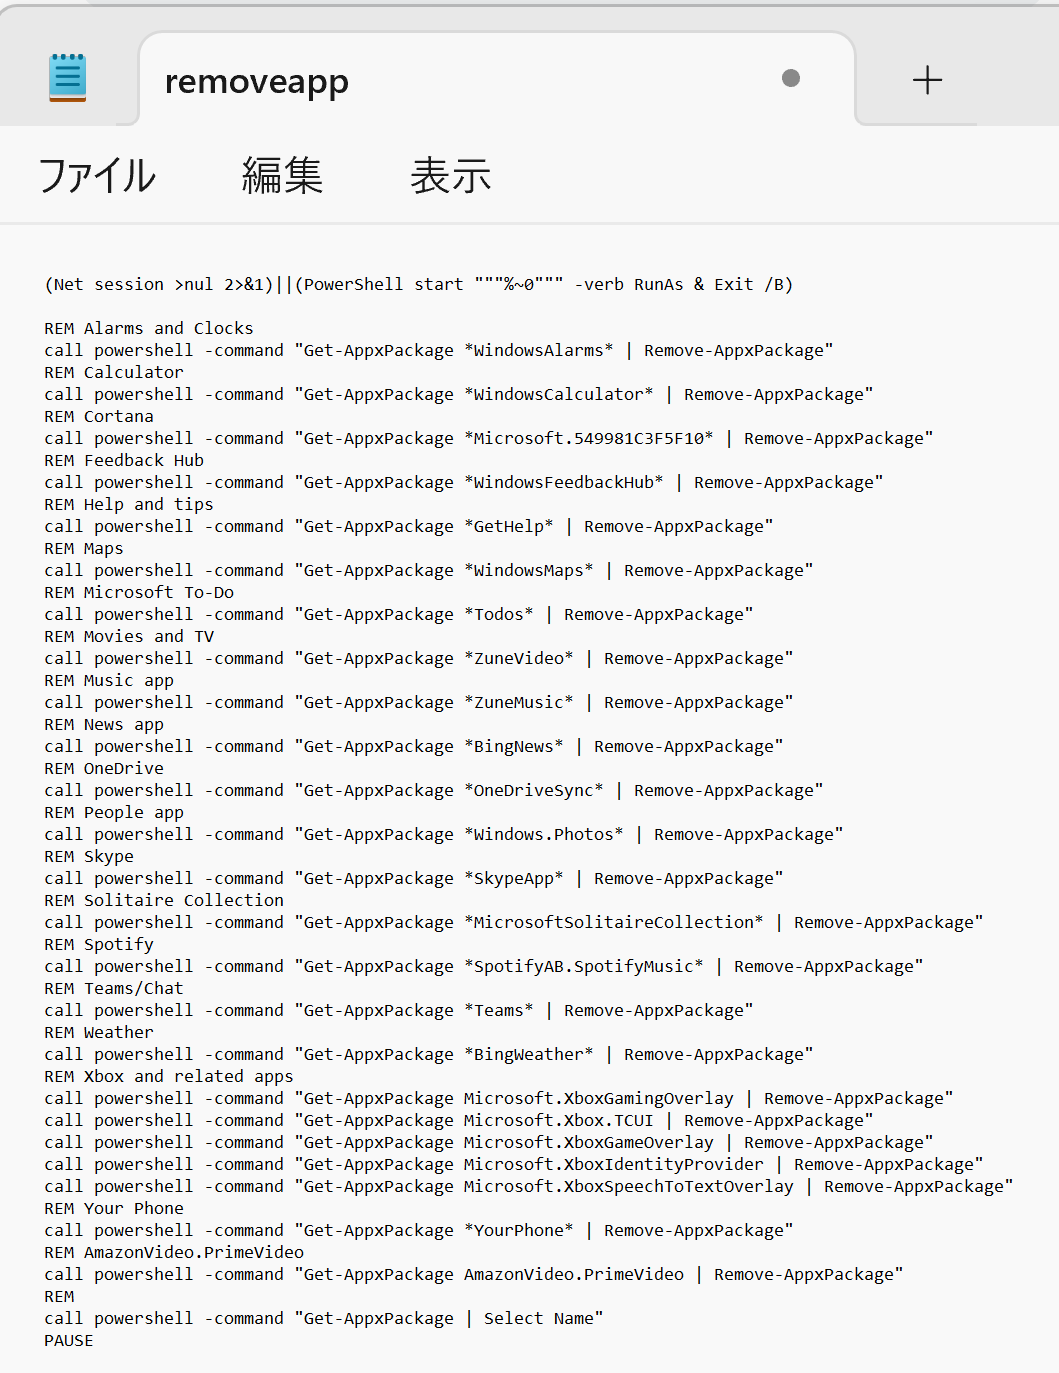
5. 不要なプリインストールアプリの削除
方法1:スクリプトによる一括削除
アプリの一括削除を行い、その後、アプリを一覧表示する。この処理は、以下のスクリプトを用いて実行する。削除されるアプリはスクリプト内に記載しているので、確認および必要な変更を行った上で実行すること。
- Windowsで、コマンドプロンプトを実行する。
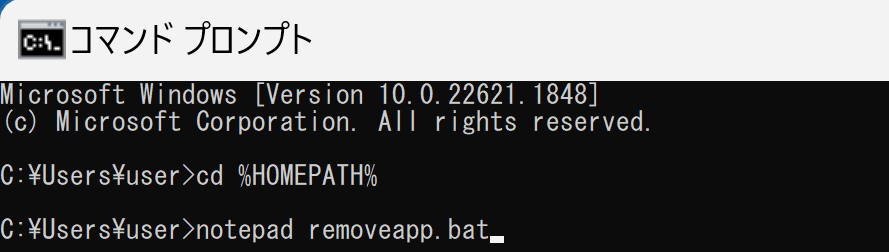
- エディタを起動する。
cd /d c:%HOMEPATH%
notepad removeapp.bat
- エディタで、次のスクリプトを保存する。
参考ページ:https://elluminetpress.com/2021/03/uninstall-windows-11-apps-in-powershell/
(Net session >nul 2>&1)||(PowerShell start """%~0""" -verb RunAs & Exit /B)

REM Alarms and Clocks
powershell -command "Get-AppxPackage *WindowsAlarms* | Remove-AppxPackage"
REM Calculator
powershell -command "Get-AppxPackage *WindowsCalculator* | Remove-AppxPackage"
REM Cortana
powershell -command "Get-AppxPackage *Microsoft.549981C3F5F10* | Remove-AppxPackage"
REM Feedback Hub
powershell -command "Get-AppxPackage *WindowsFeedbackHub* | Remove-AppxPackage"
REM Help and tips
powershell -command "Get-AppxPackage *GetHelp* | Remove-AppxPackage"
REM Maps
powershell -command "Get-AppxPackage *WindowsMaps* | Remove-AppxPackage"
REM Microsoft To-Do
powershell -command "Get-AppxPackage *Todos* | Remove-AppxPackage"
REM Movies and TV
powershell -command "Get-AppxPackage *ZuneVideo* | Remove-AppxPackage"
REM Music app
powershell -command "Get-AppxPackage *ZuneMusic* | Remove-AppxPackage"
REM News app
powershell -command "Get-AppxPackage *BingNews* | Remove-AppxPackage"
REM OneDrive
powershell -command "Get-AppxPackage *OneDriveSync* | Remove-AppxPackage"
REM People app
powershell -command "Get-AppxPackage *Windows.Photos* | Remove-AppxPackage"
REM Skype
powershell -command "Get-AppxPackage *SkypeApp* | Remove-AppxPackage"
REM Solitaire Collection
powershell -command "Get-AppxPackage *MicrosoftSolitaireCollection* | Remove-AppxPackage"
REM Spotify
powershell -command "Get-AppxPackage *SpotifyAB.SpotifyMusic* | Remove-AppxPackage"
REM Teams/Chat
powershell -command "Get-AppxPackage *Teams* | Remove-AppxPackage"
REM Weather
powershell -command "Get-AppxPackage *BingWeather* | Remove-AppxPackage"
REM Xbox and related apps
powershell -command "Get-AppxPackage Microsoft.XboxGamingOverlay | Remove-AppxPackage"
powershell -command "Get-AppxPackage Microsoft.Xbox.TCUI | Remove-AppxPackage"
powershell -command "Get-AppxPackage Microsoft.XboxGameOverlay | Remove-AppxPackage"
powershell -command "Get-AppxPackage Microsoft.XboxIdentityProvider | Remove-AppxPackage"
powershell -command "Get-AppxPackage Microsoft.XboxSpeechToTextOverlay | Remove-AppxPackage"
REM Your Phone
powershell -command "Get-AppxPackage *YourPhone* | Remove-AppxPackage"
REM AmazonVideo.PrimeVideo
powershell -command "Get-AppxPackage AmazonVideo.PrimeVideo | Remove-AppxPackage"
REM
powershell -command "Get-AppxPackage | Select Name"
PAUSE
- スクリプトを実行する。
cd /d c:%HOMEPATH%
.\removeapp.bat

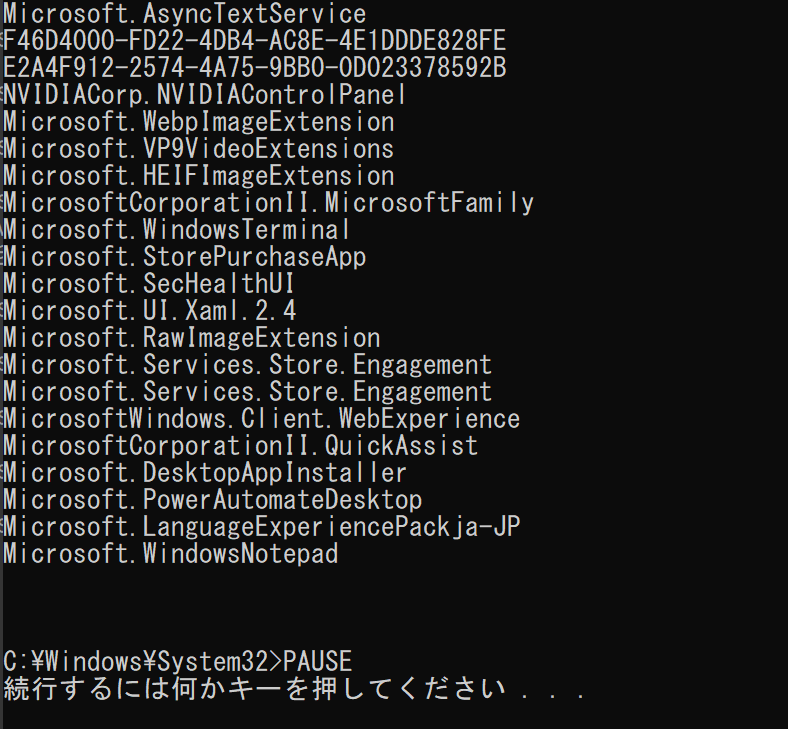
- 終了を確認する。
アプリが一覧表示され、何かキーを押すと画面が閉じる。
方法2:Remove-MS-Store-Appsの使用
次の参考ページを参考にアプリの削除を行う。
参考ページ: https://github.com/Digressive/Remove-MS-Store-Apps
【注意事項】
アプリの削除は、必要なアプリまで誤って削除するとシステムの動作に影響を与える可能性がある。削除対象のアプリを十分に確認してから実行すること。特に、計算機やフォトなど、日常的に使用するアプリを削除する場合は注意が必要である。
6. サービスの停止
サービスの一括設定
サービスの一括設定を行う。この処理は、以下のスクリプトを用いて実行する。ここでは、いくつかのサービスを「start=demand」(手動起動)に設定する。設定内容はスクリプト内に記載しているので、確認および必要な変更を行った上で実行すること。
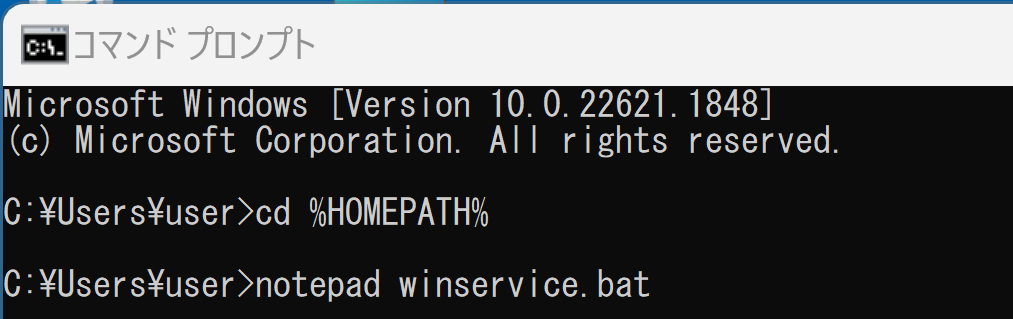
- Windowsで、コマンドプロンプトを実行する。
- エディタを起動する。
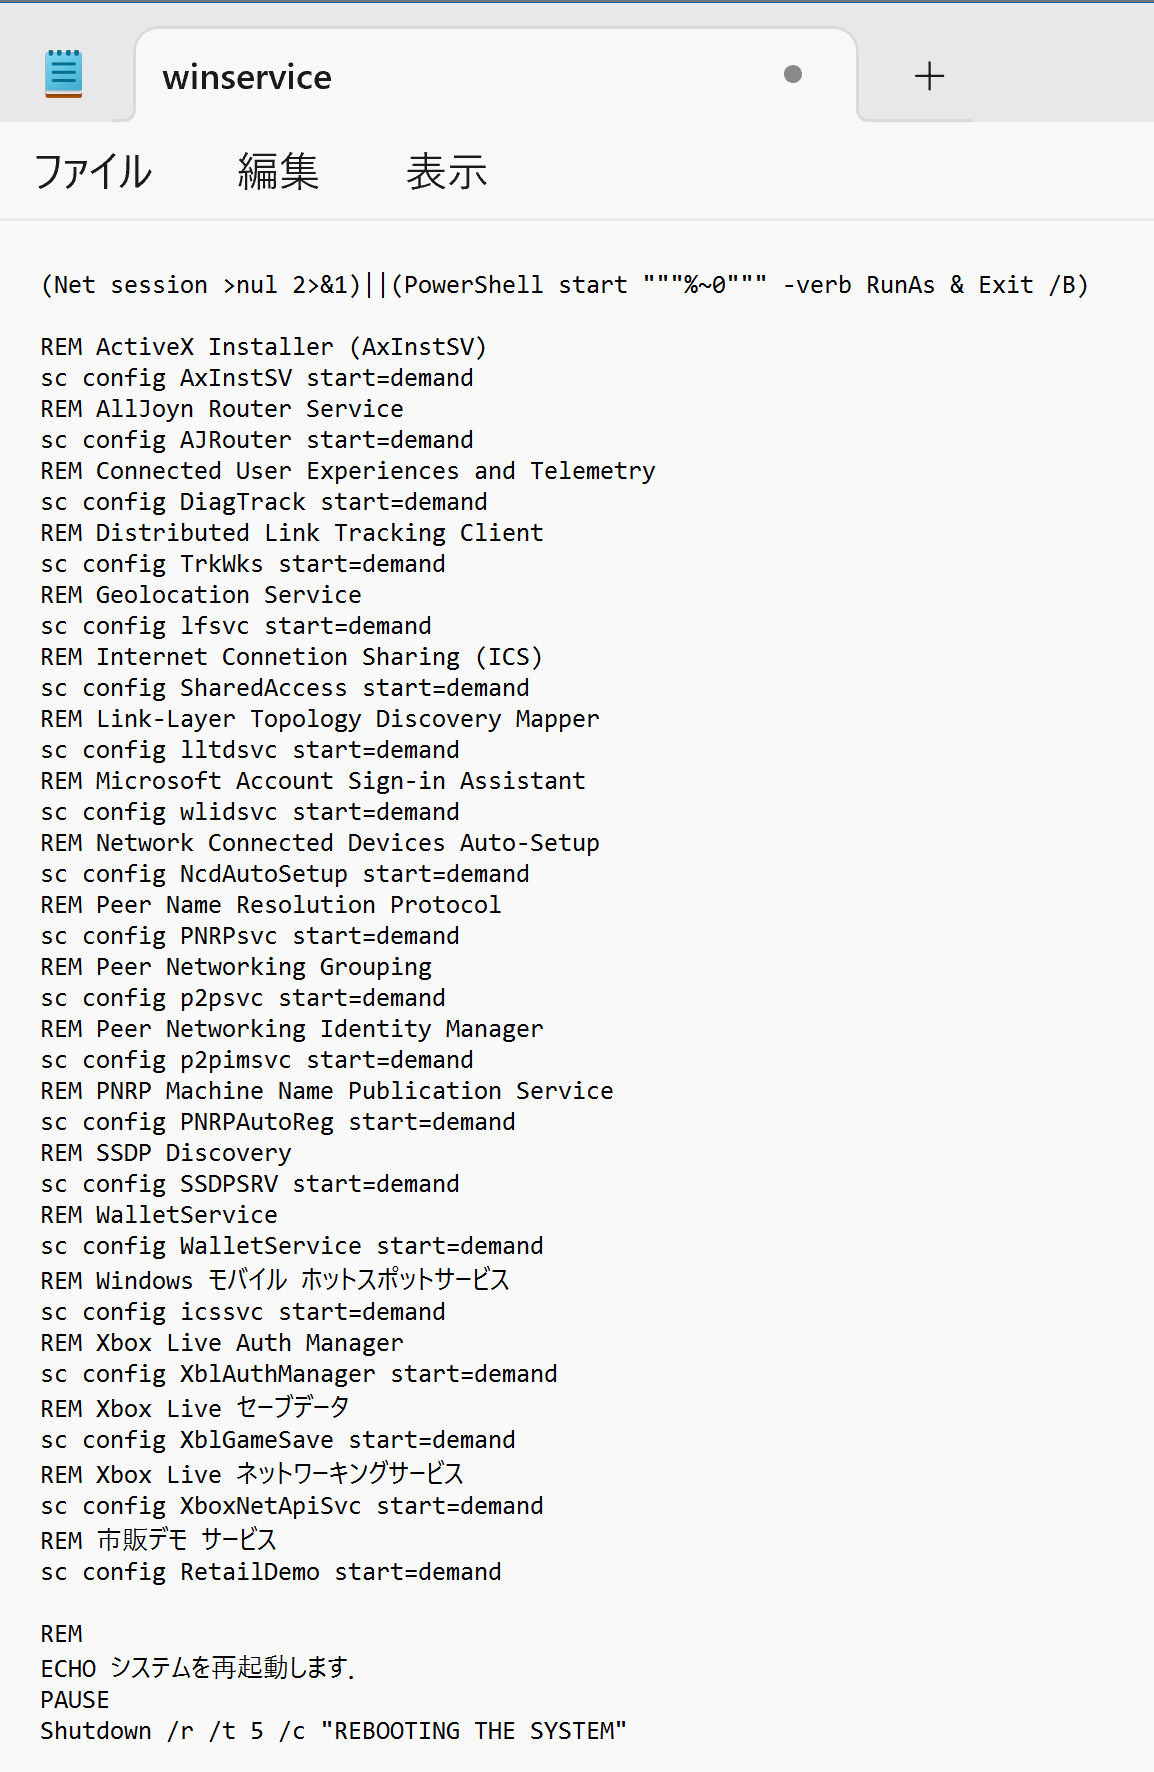
cd /d c:%HOMEPATH%
notepad winservice.bat
- エディタで、次のスクリプトを保存する。
参考ページ:https://elluminetpress.com/2021/03/uninstall-windows-11-apps-in-powershell/
(Net session >nul 2>&1)||(PowerShell start """%~0""" -verb RunAs & Exit /B)

REM ActiveX Installer (AxInstSV)
sc config AxInstSV start=demand
REM AllJoyn Router Service
sc config AJRouter start=demand
REM Connected User Experiences and Telemetry
sc config DiagTrack start=demand
REM Distributed Link Tracking Client
sc config TrkWks start=demand
REM Geolocation Service
sc config lfsvc start=demand
REM Internet Connection Sharing (ICS)
sc config SharedAccess start=demand
REM Link-Layer Topology Discovery Mapper
sc config lltdsvc start=demand
REM Microsoft Account Sign-in Assistant
sc config wlidsvc start=demand
REM Network Connected Devices Auto-Setup
sc config NcdAutoSetup start=demand
REM Peer Name Resolution Protocol
sc config PNRPsvc start=demand
REM Peer Networking Grouping
sc config p2psvc start=demand
REM Peer Networking Identity Manager
sc config p2pimsvc start=demand
REM PNRP Machine Name Publication Service
sc config PNRPAutoReg start=demand
REM SSDP Discovery
sc config SSDPSRV start=demand
REM WalletService
sc config WalletService start=demand
REM Windows モバイル ホットスポットサービス
sc config icssvc start=demand
REM Xbox Live Auth Manager
sc config XblAuthManager start=demand
REM Xbox Live セーブデータ
sc config XblGameSave start=demand
REM Xbox Live ネットワーキングサービス
sc config XboxNetApiSvc start=demand
REM 市販デモ サービス
sc config RetailDemo start=demand

REM
ECHO システムを再起動します
PAUSE
Shutdown /r /t 5 /c "REBOOTING THE SYSTEM"
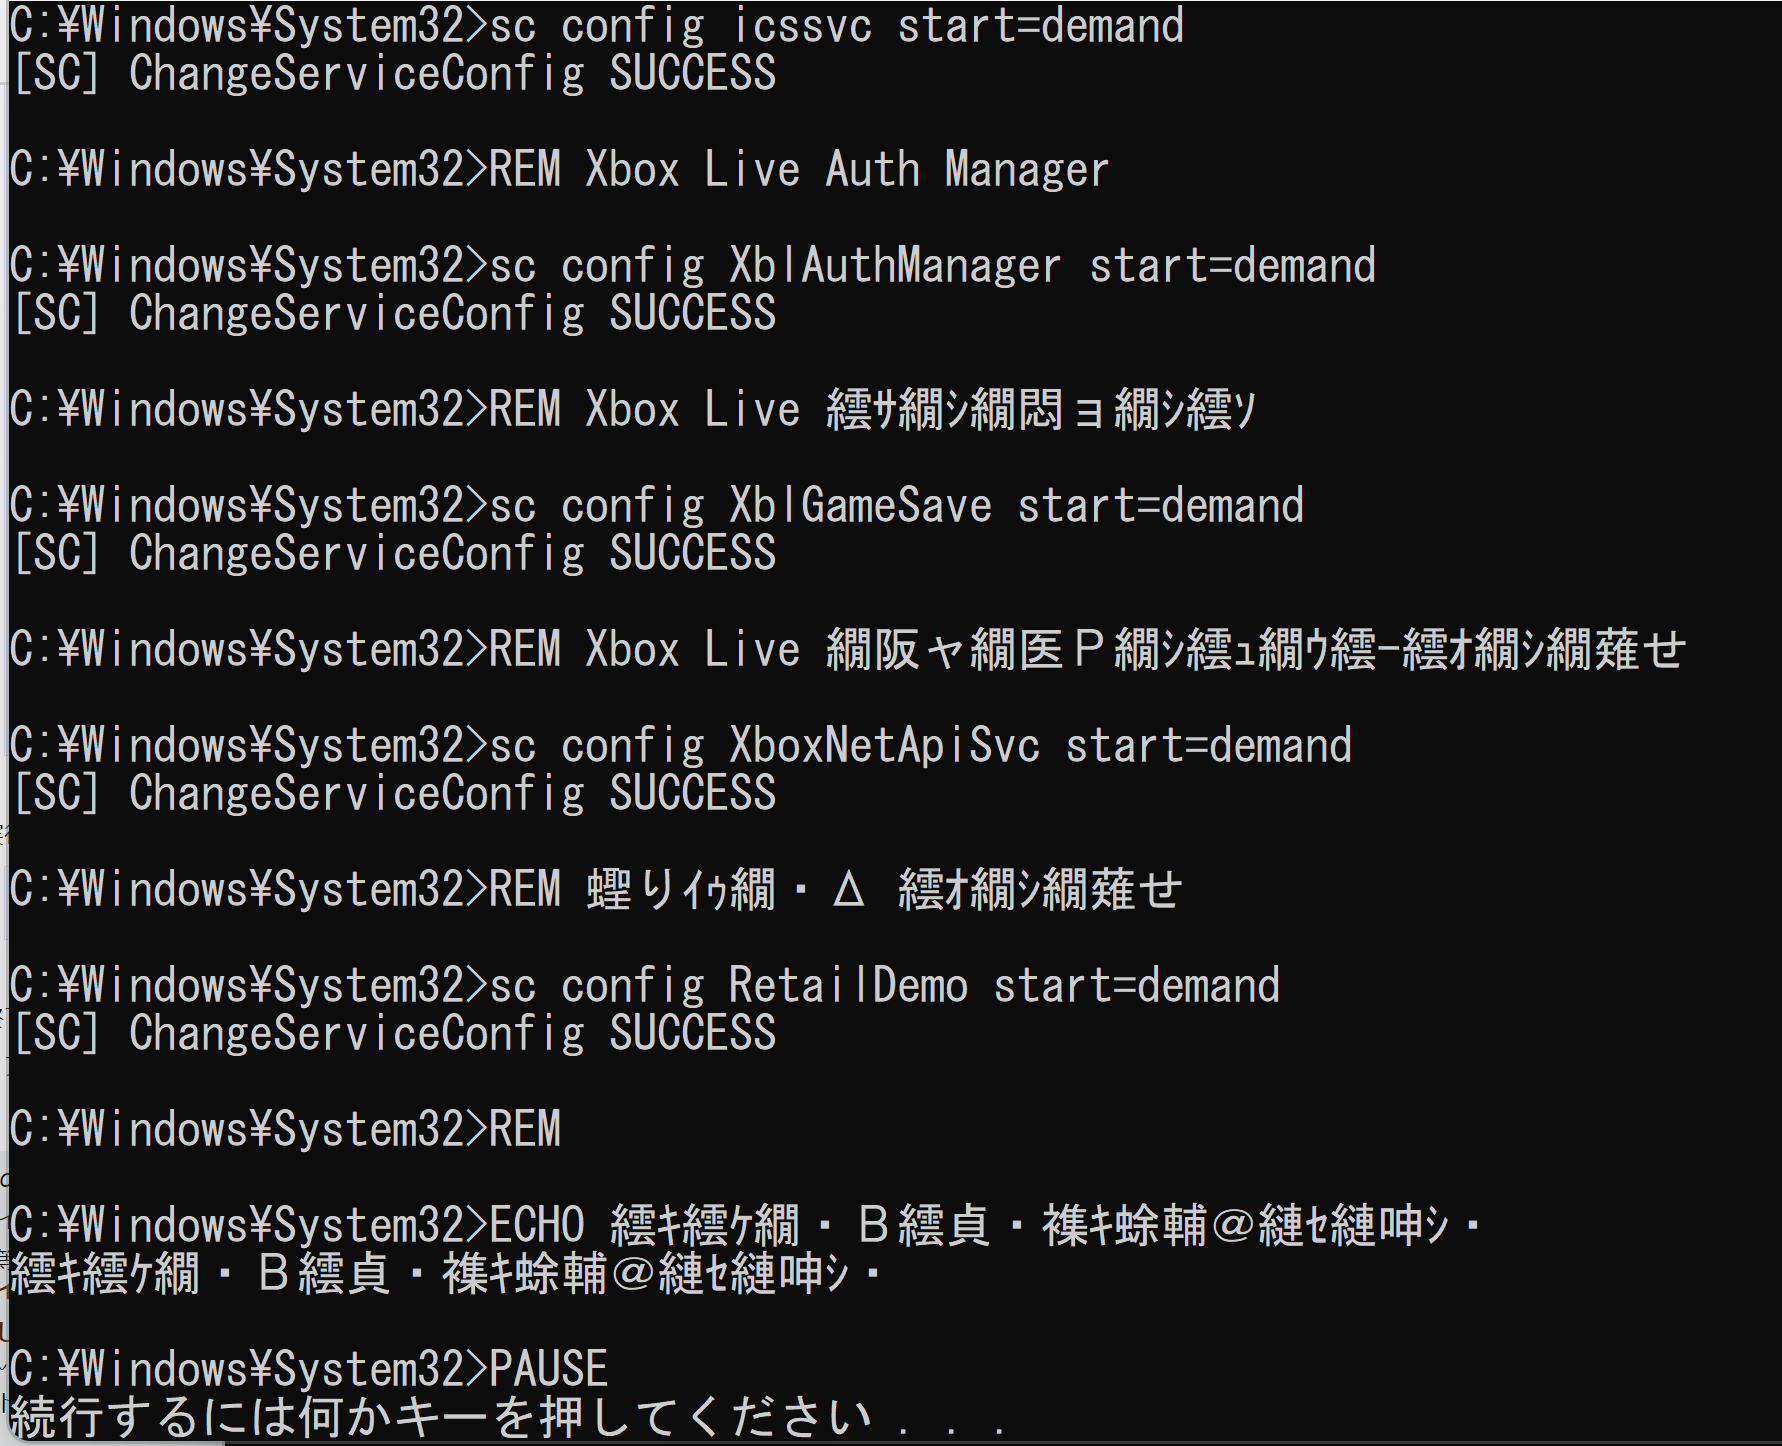
- スクリプトを実行する。
cd /d c:%HOMEPATH%
.\winservice.bat

- 終了を確認する。
設定が完了すると、メッセージが表示される。何かキーを押すと、画面が閉じてシステムが再起動する。
各種機能の停止
各種機能の停止を行う。この処理は、以下のスクリプトを用いて実行する。設定内容はスクリプト内に記載しているので、確認および必要な変更を行った上で実行すること。
- Windowsで、コマンドプロンプトを実行する。
- エディタを起動する。
cd /d c:%HOMEPATH%
notepad wincustom.bat
- エディタで、次のスクリプトを保存する。
(Net session >nul 2>&1)||(PowerShell start """%~0""" -verb RunAs & Exit /B)

REM トースト通知をオフにする
reg add "HKEY_CURRENT_USER\SOFTWARE\Microsoft\Windows\CurrentVersion\PushNotifications" /v "ToastEnabled" /t REG_DWORD /d "0" /f

REM 通知とアクションセンターをオフにする
reg add "HKEY_CURRENT_USER\Software\Policies\Microsoft\Windows\Explorer" /v "DisableNotificationCenter" /t REG_DWORD /d "1" /f

REM Peopleバーを削除
reg add "HKEY_CURRENT_USER\Software\Policies\Microsoft\Windows\Explorer" /v "HidePeopleBar" /t REG_DWORD /d "1" /f

REM タスクバーで chat を表示しない
reg add "HKEY_CURRENT_USER\Software\Microsoft\Windows\CurrentVersion\Explorer\Advanced" /v "TaskbarMn" /t REG_DWORD /d "1" /f

REM フリップ3Dを起動しない
reg add "HKEY_CURRENT_USER\SOFTWARE\Policies\Microsoft\Windows\DWM" /v "DisallowFlip3d" /t REG_DWORD /d "1" /f

REM インターネットを検索しない
reg add "HKEY_CURRENT_USER\Software\Microsoft\Windows\Windows\Explorer" /v "NoSearchInternetInStartMenu" /t REG_DWORD /d "1" /f

REM スタートメニュー検索でウェブの検索結果を表示させない
reg add "HKEY_CURRENT_USER\Software\Policies\Microsoft\Windows\Explorer" /v "DisableSearchBoxSuggestions" /t REG_DWORD /d "1" /f

REM Windows 11 ウィジェットを削除する
reg add "HKEY_LOCAL_MACHINE\SOFTWARE\Policies\Microsoft\Dsh" /v "AllowNewsAndInterests" /t REG_DWORD /d "0" /f

REM Windows エラー報告を無効にする
reg add "HKEY_LOCAL_MACHINE\Software\Policies\Microsoft\Windows\Windows Error Reporting" /v "Disabled" /t REG_DWORD /d "1" /f

REM 場所を無効にする
reg add "HKEY_LOCAL_MACHINE\Software\Policies\Microsoft\Windows\LocationAndSensors" /v "DisableLocation" /t REG_DWORD /d "1" /f

REM ようこそ画面を表示しない
reg add "HKEY_LOCAL_MACHINE\Software\Microsoft\Windows\CurrentVersion\Policies\Explore" /v "NoWelcomeScreen" /t REG_DWORD /d "1" /f

REM
ECHO システムを再起動します
PAUSE
Shutdown /r /t 5 /c "REBOOTING THE SYSTEM"
- スクリプトを実行する。
cd /d c:%HOMEPATH%
.\wincustom.bat
- 終了を確認する。
何かキーを押すと、画面が閉じてシステムが再起動する。
【注意事項】
サービスの停止や各種機能の無効化は、システムの動作に重大な影響を与える可能性がある。特に、ネットワーク関連のサービスやシステムサービスを停止すると、Windowsの基本機能が使用できなくなる場合がある。各サービスの役割を理解した上で、必要なサービスのみを停止すること。設定変更後に問題が発生した場合は、システムの復元機能を使用して以前の状態に戻すことを推奨する。
7. DNSサーバアドレスの設定
- Windowsで、コマンドプロンプトを管理者権限で起動する。
- 次のコマンドを実行する。
rem すべてのネットワークアダプターの DNS 設定を変更
for /f "tokens=1,2,3*" %i in ('netsh interface show interface') do (
    if "%i"=="Enabled" (
        netsh interface ipv4 set dns name="%k" static 1.1.1.1 primary
        netsh interface ipv4 add dns name="%k" 1.0.0.1 index=2
    )
)

rem DNS キャッシュをクリア
ipconfig /flushdns
【注意事項】
DNSサーバアドレスの変更は、インターネット接続に影響を与える可能性がある。特に、企業ネットワークや学校などの組織内ネットワークでは、独自のDNSサーバが設定されている場合があるため、変更前にネットワーク管理者に確認することを推奨する。また、DNS設定の変更後にインターネット接続に問題が発生した場合は、設定を元に戻すか、自動取得に変更すること。
8. その他の設定
- ファンクションキーの無効化
PowerShellを管理者として実行し、次のコマンドを実行する。
Set-ItemProperty -Path "HKLM:\SYSTEM\CurrentControlSet\Control\Keyboard Layout" -Name "Scancode Map" -Type Binary -Value ([byte[]]( 0x00,0x00,0x00,0x00,0x00,0x00,0x00,0x00, 0x0d,0x00,0x00,0x00, 0x00,0x00,0x3b,0x00, # Disable F1 0x00,0x00,0x3c,0x00, # Disable F2 0x00,0x00,0x3d,0x00, # Disable F3 0x00,0x00,0x3e,0x00, # Disable F4 0x00,0x00,0x3f,0x00, # Disable F5 0x00,0x00,0x40,0x00, # Disable F6 0x00,0x00,0x41,0x00, # Disable F7 0x00,0x00,0x42,0x00, # Disable F8 0x00,0x00,0x43,0x00, # Disable F9 0x00,0x00,0x44,0x00, # Disable F10 0x00,0x00,0x57,0x00, # Disable F11 0x00,0x00,0x58,0x00, # Disable F12 0x00,0x00,0x00,0x00 )) - Windowsのパス長制限の解除
コマンドプロンプトを管理者権限で起動する。
次のコマンドを実行する。
reg add "HKEY_LOCAL_MACHINE\SYSTEM\CurrentControlSet\Control\FileSystem" /v "LongPathsEnabled" /t REG_DWORD /d "1" /f
- Windowsエクスプローラーで隠しファイルの表示、ファイル名拡張子の表示
ファイル名拡張子(.pdf、.pptxなど)が表示されるようになる。また、隠しファイル(既定では非表示のファイルやフォルダ)が表示されるようになる。
コマンドプロンプトを管理者権限で起動する。
次のコマンドを実行する。
powershell -command "Set-ItemProperty -Path 'HKCU:\Software\Microsoft\Windows\CurrentVersion\Explorer\Advanced' -Name 'Hidden' -Value 1"
powershell -command "Set-ItemProperty -Path 'HKCU:\Software\Microsoft\Windows\CurrentVersion\Explorer\Advanced' -Name 'ShowSuperHidden' -Value 1"
powershell -command "Set-ItemProperty -Path 'HKCU:\Software\Microsoft\Windows\CurrentVersion\Explorer\Advanced' -Name 'HideFileExt' -Value 0"
【注意事項】
これらの設定変更は、Windowsの動作やユーザーインターフェースに影響を与える。特に、ファンクションキーの無効化は、一部のアプリケーションで使用されるショートカットキーが動作しなくなる可能性がある。また、隠しファイルの表示を有効にすると、システムファイルが表示されるため、誤って削除や変更を行わないよう注意が必要である。
9. ディスククリーンアップとデフラグ
- ディスククリーンアップ
コマンドプロンプトを管理者権限で起動する。
次のコマンドを実行する。
cleanmgr /verylowdisk
- デフラグと、Cドライブの空き領域のゼロフィルを行う。
sdeleteのURL:https://docs.microsoft.com/ja-jp/sysinternals/downloads/sdelete
コマンドプロンプトを管理者権限で起動する。
次のコマンドを実行する。
defrag /C /X
sdelete -z c:
【注意事項】
ディスククリーンアップとデフラグは、ディスクの空き容量を増やし、システムパフォーマンスを向上させる効果がある。ただし、SSD(ソリッドステートドライブ)を使用している場合、デフラグは不要であり、むしろSSDの寿命を縮める可能性がある。SSDの場合は、デフラグの実行を避けること。また、ゼロフィルの実行には長時間を要する場合があるため、時間に余裕がある時に実行することを推奨する。
10. システムの一般的な問題と解決方法
システムで発生する一般的な問題と、その効果的な解決方法を解説する:
- Wi-Fi接続の問題
- 設定 → ネットワークとインターネット → 詳細なネットワーク設定から診断を実行する
- ネットワークのリセットまたはネットワークアダプターの再構成を実施する
- アプリのインストール問題
- 設定 → Windows Update で最新の更新プログラムを適用する
- 設定 → アプリ → インストールされているアプリから修復または再インストールを実行する
- アプリケーションの互換性診断を実施する
- ディスプレイ設定の問題
- 設定 → システム → ディスプレイから表示設定を最適化する
- デバイスマネージャーでディスプレイドライバーを最新版に更新する
- システムパフォーマンスの低下
- タスクマネージャー(Ctrl+Shift+Esc)でシステムリソースの使用状況を分析する
- 設定 → システム → ストレージからストレージ最適化を実行する
- 設定 → アプリ → スタートアップから不要なアプリケーションの自動起動を制御する
【注意事項】
トラブルシューティングを実行する際は、問題の原因を正確に特定することが重要である。特に、ハードウェアの故障やドライバーの問題が原因の場合、ソフトウェア的な対処では解決できない可能性がある。問題が解決しない場合は、システムの復元機能を使用して以前の正常な状態に戻すか、専門家に相談することを推奨する。