Ubuntu で WordPress のインストール
Ubuntu 24.04 LTS に WordPress 最新版をインストールする方法。Apache2、MariaDB 11.2、PHP 8.3 の環境構築から、データベース作成、WordPress ファイル配置、Apache 設定、wp-config.php 設定までを解説する。Let's Encrypt を用いたHTTPS化手順も含む。セキュリティに関する設定にも言及する。
- MariaDB データベース名: WP_database
- MariaDB データベースのキャラクタセット: utf8mb4_general_ci;
- MariaDB ユーザ名: WP_dbuser
- DocumentRoot: /var/www/html/wp
- Apache2 設定ファイル格納先: /etc/apache2/sites-available/
- Apache2 ServerName: example.com
- Apache2 ServerAlias: www.example.com
【目次】
- 前準備
- Apache2, MariaDB, PHP のインストール, Maria DB の設定など
- WordPress用データベースの作成
- WordPressのダウンロードと設定
- WordPress のインストール
- Let's Enctypt に関する設定
【サイト内の関連ページ】
【関連する外部ページ】
前準備
システム、パッケージの更新
端末で次のように操作する。
# パッケージリストの情報を更新
sudo apt update
sudo apt -yV upgrade
Apache2, MariaDB, PHP のインストール, Maria DB の設定など
- 端末を開く
- Apache2, MariaDB, PHP のインストール
Ubuntu 24.04 LTSではPHP 8.3が標準でサポートされており、WordPressの最新版と完全に互換性がある。
sudo apt -y install apache2 mariadb-server mariadb-client
sudo apt -y install libapache2-mod-php php-mysql php-cli php-common php-curl php-gd php-intl php-mbstring php-soap php-xml php-xmlrpc php-zip
- Maria DB の設定
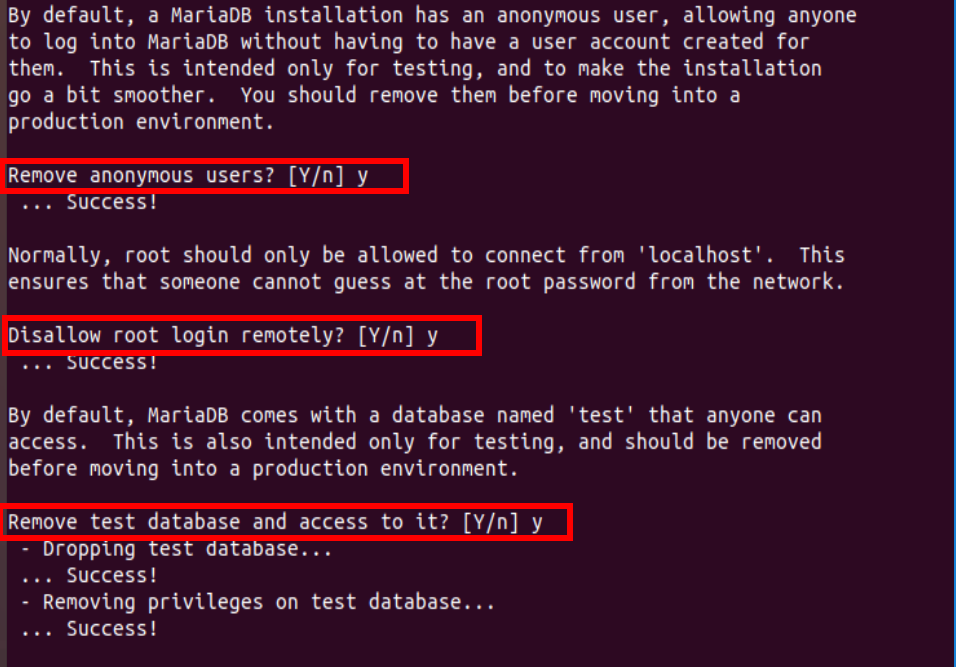
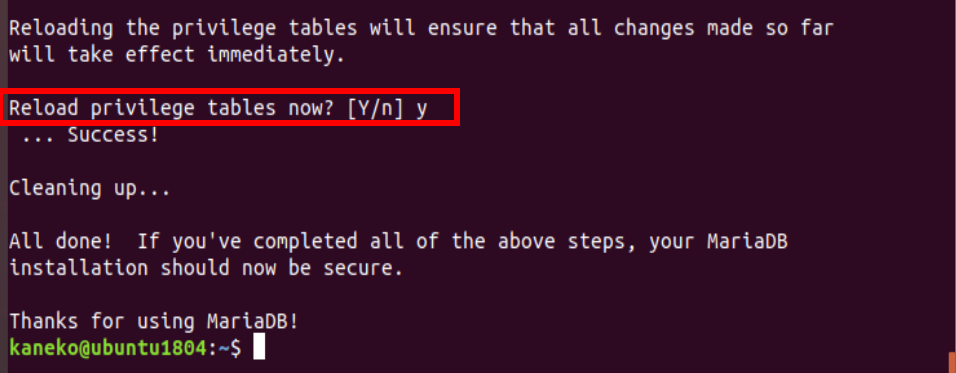
- 「sudo mysql_secure_installation」の実行
sudo mysql_secure_installation

- データベースシステム管理者の設定、その他
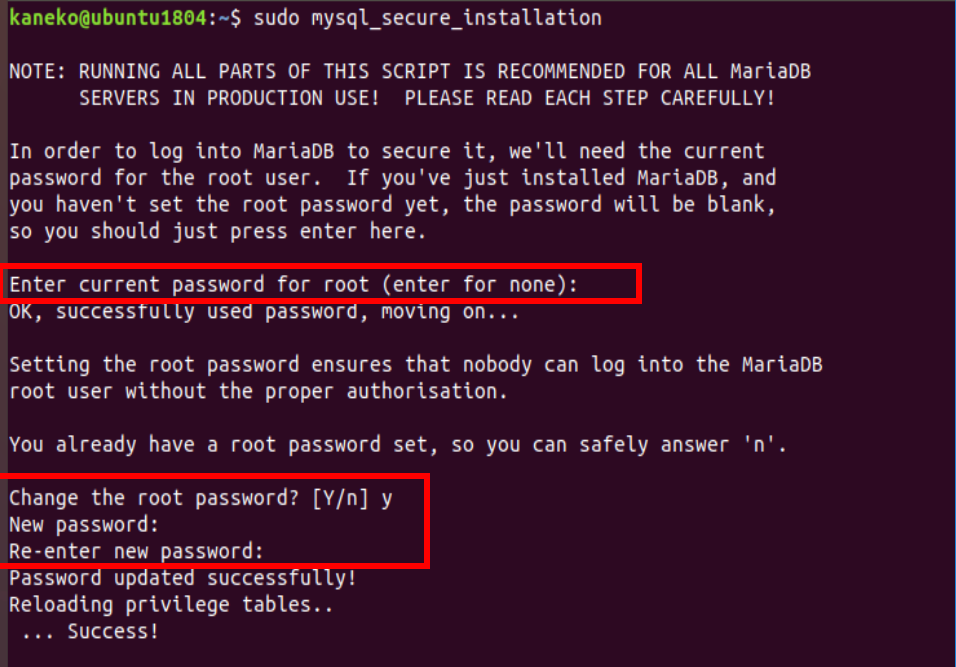
- 「sudo mysql_secure_installation」の実行
- PHP についての設定
/etc/php/8.3/apache2/php.ini を編集する。date.timezone の行を次のように書き換えるほか、WordPressのパフォーマンス向上のためmemory_limitを128M以上に設定することが推奨される。

- Apache2 の再起動
/etc/php/8.3/apache2/php.ini を書き換えたら、Apache2 を再起動する。
sudo systemctl restart apache2.service

- ファイアウォール (UFW) の設定
外部からのHTTP/HTTPSアクセスを許可するため、UFWが有効な場合はApache Fullプロファイルを許可する。
sudo ufw allow 'Apache Full'
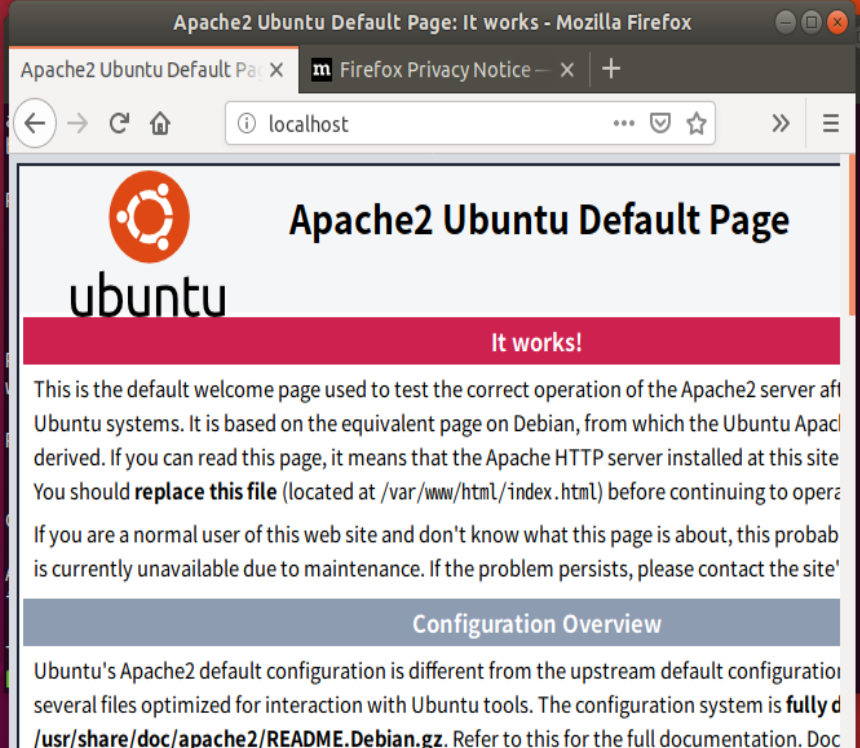
- Apache2 の確認
Web ブラウザで http://localhost を開く。
次のような画面が開けば問題ない。
- MariaDB の確認
端末で次のように、コマンドを実行する。エラーメッセージが出なければ問題ない。
sudo mysql -u root -p
(Ubuntu のパスワードを入れる)
\q
WordPress用データベースの作成
- 端末を開く
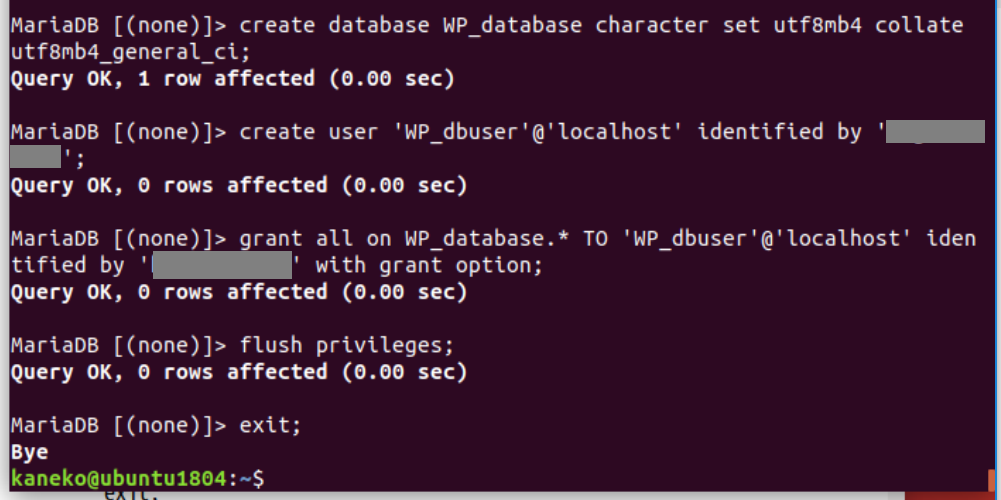
- データベース作成コマンド
データベース名: WP_database
データベースのキャラクタセット: utf8mb4_general_ci; (WordPressでは現在、utf8mb4_unicode_520_ci の使用が推奨されている)
ユーザ名: WP_dbuser
「<パスワード>」のところは適切にパスワードを設定すること
create database WP_database character set utf8mb4 collate utf8mb4_general_ci;
create user 'WP_dbuser'@'localhost' identified by '<パスワード>';
grant all on WP_database.* TO 'WP_dbuser'@'localhost' with grant option;
flush privileges;
exit;
WordPressのダウンロードと設定
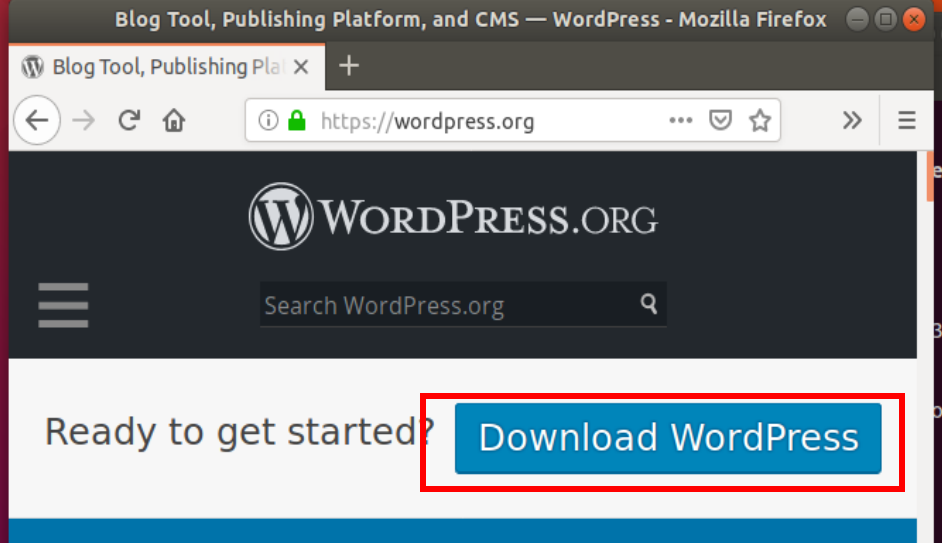
- WordPress の Web ページを開く
- 「Download WordPress」をクリック
- 最新版のダウンロード
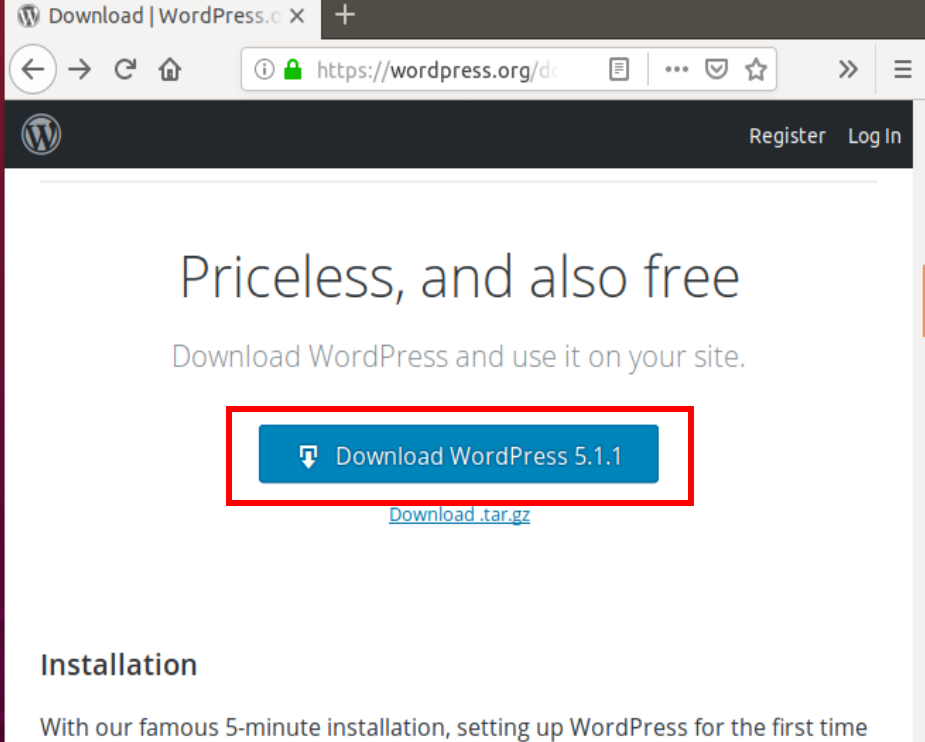
- zip ファイルのダウンロードが始まる。ファイル名とディレクトリ名を確認する。

- WordPress の zip ファイルを展開(解凍)
「latest.zip」と表示されているファイル名、あるいは先ほど確認したファイル名に読み替える。
unzip latest.zip
sudo mv wordpress /var/www/html/wp
sudo chown -R www-data:www-data /var/www/html/wp
sudo chmod -R 755 /var/www/html/wp

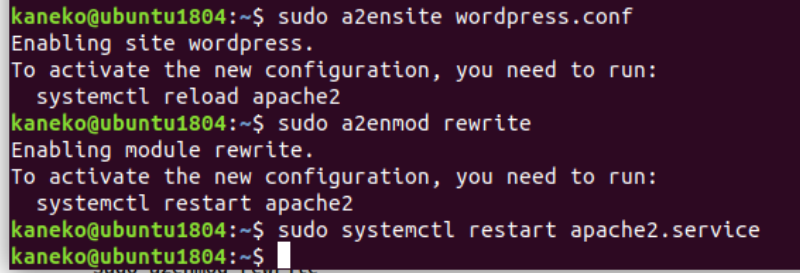
- /etc/apache2/sites-available/wordpress.conf の新規作成
「example.com」と 「www.example.com」のところは、サイト名に合わせて設定すること。
ServerAdmin webmaster@localhost DocumentRoot /var/www/html/wp/ ServerName example.com ServerAlias www.example.com /var/www/html/wp/> Options +FollowSymlinks AllowOverride All Require all granted ErrorLog ${APACHE_LOG_DIR}/error.log CustomLog ${APACHE_LOG_DIR}/access.log combined - /etc/apache2/sites-available/wordpress.conf の有効化と、rewrite モジュールの有効化
設定ファイルを編集・有効化したら、Apache2を再起動する。
sudo a2ensite wordpress.conf
sudo a2enmod rewrite
sudo systemctl restart apache2.service
- Apache2 の動作確認
Web ブラウザで http://localhost/wp を開く。
次のような画面が開けば問題ない。
確認したら Web ブラウザを閉じる。
- wp-config.php の設定
- サンプルファイルのコピー
sudo mv /var/www/html/wp/wp-config-sample.php /var/www/html/wp/wp-config.php

- wp-config.php を次のように書き換える
「<パスワード>」のところは先ほど設定したパスワードをそのまま書く。また、セキュリティのため、認証用ユニークキー(AUTH_KEYなど)を公式サイトのオンライン生成ツールで取得し、wp-config.phpの該当箇所に貼り付けることが強く推奨される。本番環境ではWP_DEBUGを無効に設定することが重要である。HTTPS環境下ではFORCE_SSL_ADMINをtrueに設定することで、管理画面のセキュリティを強化できる。
// ** MySQL settings - You can get this info from your web host ** //
/** The name of the database for WordPress */
define('DB_NAME', 'WP_database');

/** MySQL database username */
define('DB_USER', 'WP_dbuser');

/** MySQL database password */
define('DB_PASSWORD', '<パスワード>');

/** MySQL hostname */
define('DB_HOST', 'localhost');

/** Database charset to use in creating database tables. */
define('DB_charset', 'utf8mb4');

/** The Database Collate type. Don't change this if in doubt. */
define('DB_COLLATE', 'utf8mb4_general_ci');

/**#@+
 * Authentication Unique Keys and Salts.
 * Change these to different unique phrases!
 * You can generate these using the WordPress.org secret-key service
 * You can change these at any point in time to invalidate all existing cookies. This will force all users to have to log in again.
 *
 * @since 2.6.0
 */
define('AUTH_KEY',         'put your unique phrase here');
define('SECURE_AUTH_KEY',  'put your unique phrase here');
define('LOGGED_IN_KEY',    'put your unique phrase here');
define('NONCE_KEY',        'put your unique phrase here');
define('AUTH_SALT',        'put your unique phrase here');
define('SECURE_AUTH_SALT', 'put your unique phrase here');
define('LOGGED_IN_SALT',   'put your unique phrase here');
define('NONCE_SALT',       'put your unique phrase here');

/**#@-*/

/**
 * For developers: WordPress debugging mode.
 *
 * Change this to true to enable the display of notices during development.
 * It is strongly recommended that plugin and theme developers use WP_DEBUG
 * in their development environments.
 *
 * For information on other constants that can be used for debugging,
 * visit the Codex.
 *
 * @link https://codex.wordpress.org/Debugging_in_WordPress
 */
define('WP_DEBUG', false); // 本番環境では必ず false に設定する

// 強制的に管理画面をSSL/TLS接続にする (サイト全体がSSL/TLS対応している場合推奨)
// define('FORCE_SSL_ADMIN', true);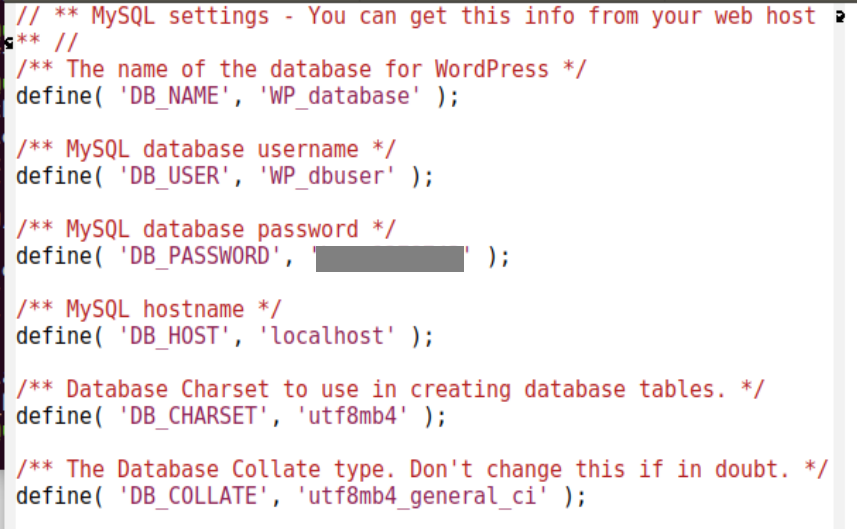
- サンプルファイルのコピー
WordPress のインストール
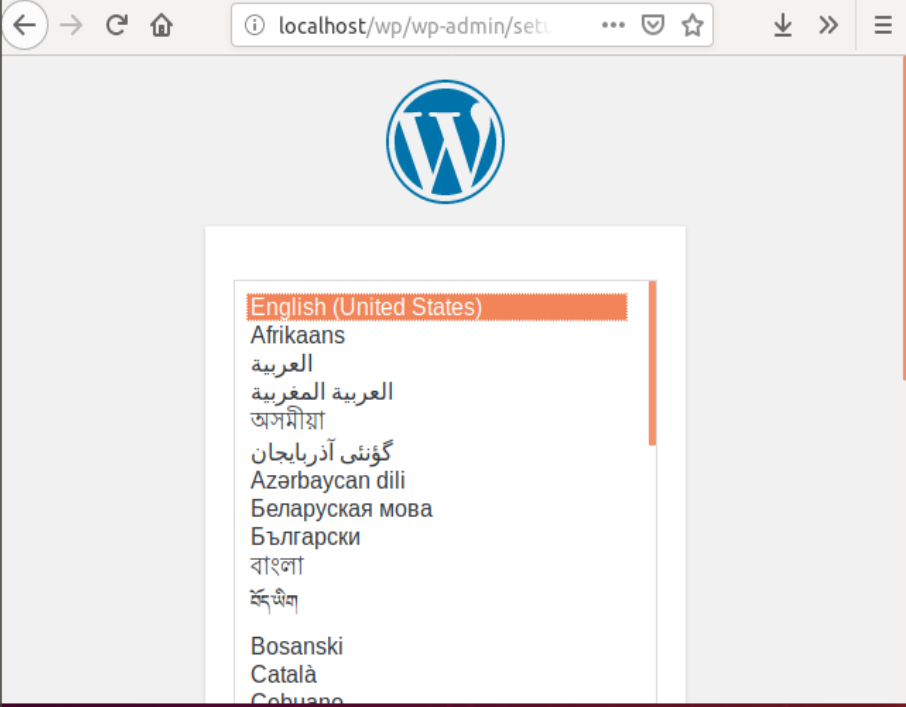
- Web ブラウザで http://localhost/wp を開く。
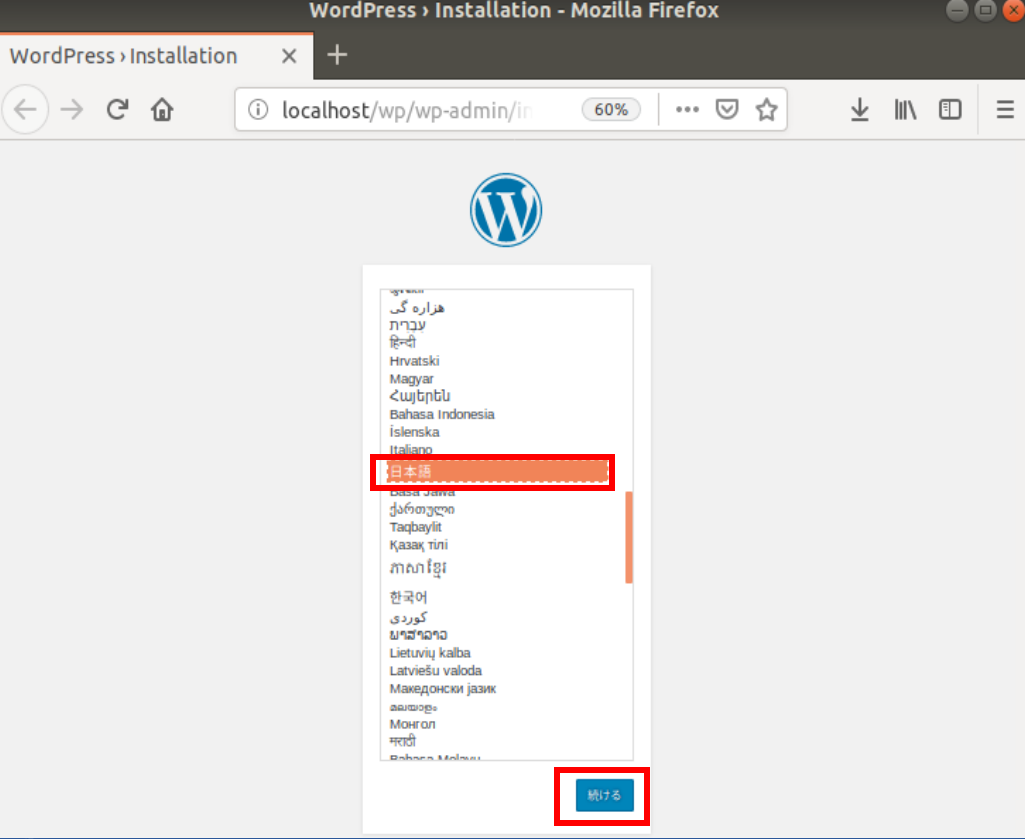
- 「日本語」を選ぶ。「続ける」をクリックする。
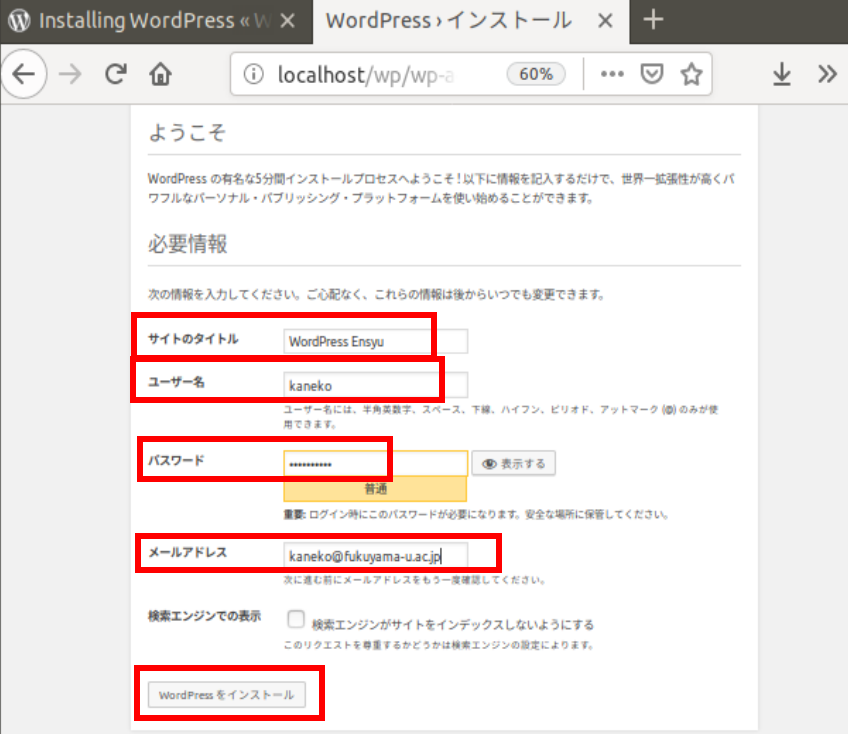
- サイトのタイトル、WordPress のユーザ名、パスワード、電子メールアドレスを設定する。「WordPress をインストール」をクリックする。
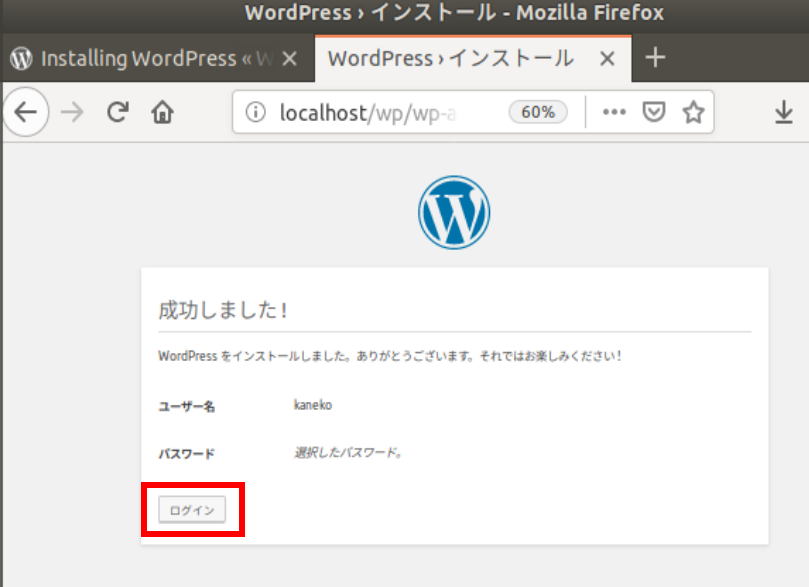
- 「成功しました!」と表示されるので確認する。「ログイン」をクリックしてログイン画面に進む。
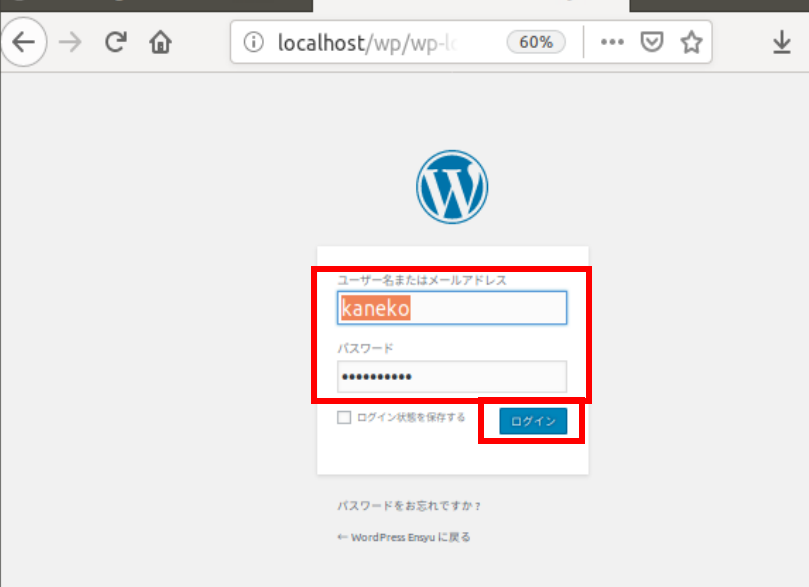
- いま設定したユーザ名、パスワードでログインする。
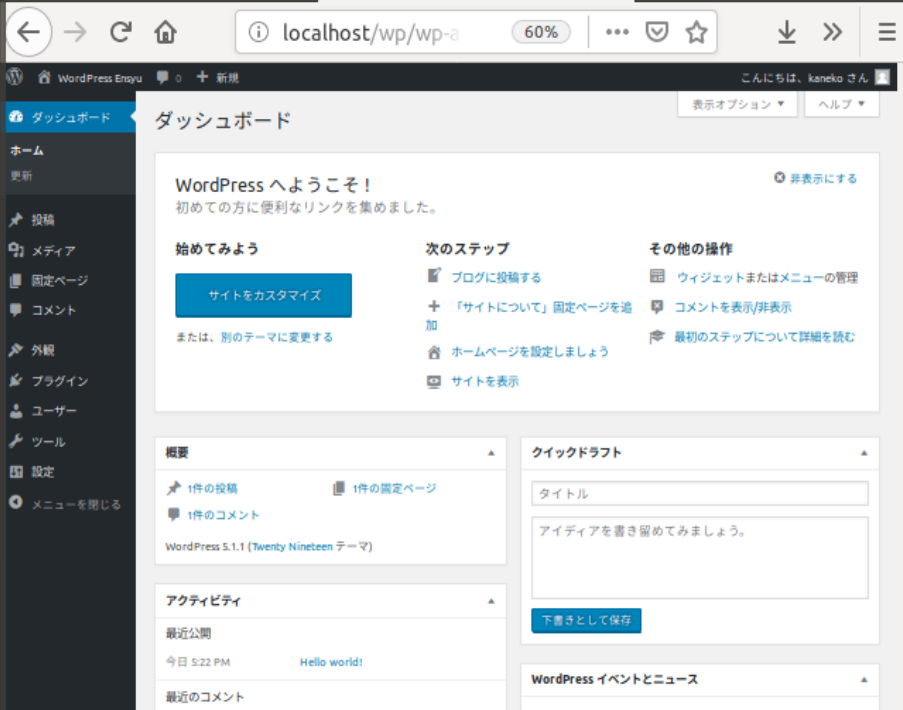
- ダッシュボードが表示される。
Let's Enctypt に関する設定
参照: https://websiteforstudents.com/install-wordpress-on-ubuntu-16-04-17-10-18-04-with-apache2-mariadb-php-7-2-and-lets-encrypt-ssl-tls/- 端末を開く
- certbot のインストール
# パッケージリストの情報を更新
sudo apt update
sudo apt -y install python3-certbot-apache
- SSL/TLS 証明書の取得
「example.com」と 「www.example.com」のところは、サイト名に合わせて設定すること。 certbotの対話式設定で「2: Redirect」を選択することで、HTTPからHTTPSへのリダイレクトが自動的に設定される。
sudo certbot --apache -m admin@example.com -d example.com -d www.example.com
- certbot によるVirtualHost設定の確認
certbot は、既存の /etc/apache2/sites-available/wordpress.conf に HTTPS リダイレクト設定(RewriteRule)を追加し、HTTPS 用の新しい設定ファイル /etc/apache2/sites-available/example.com-le-ssl.conf を自動生成する。
生成された /etc/apache2/sites-available/example.com-le-ssl.conf の内容は以下のようになる(サイト名に合わせて確認・調整が必要な場合がある)。
ServerAdmin webmaster@localhost DocumentRoot /var/www/html/wp/ ServerName example.com ServerAlias www.example.com /var/www/html/wp/> Options +FollowSymlinks AllowOverride All Require all granted ErrorLog ${APACHE_LOG_DIR}/error.log CustomLog ${APACHE_LOG_DIR}/access.log combined SSLCertificateFile /etc/letsencrypt/live/example.com/fullchain.pem SSLCertificateKeyFile /etc/letsencrypt/live/example.com/privkey.pem Include /etc/letsencrypt/options-ssl-apache.conf - 証明書の更新
証明書の更新テストを実行する。Let's Encrypt の証明書は90日間有効で、certbot は有効期限の30日前から更新を試みるよう設定されている。
sudo certbot renew --dry-run
- 自動更新の設定
certbot パッケージを apt でインストールした場合、通常は systemd timer または cron スクリプト(/etc/cron.d/certbot)によって証明書の自動更新が既に設定されており、定期的に実行される。手動で crontab を設定する必要はない。設定状況は `systemctl status certbot.timer` コマンドなどで確認できる。