Physically Based Rendering のインストール(GitHub の mmp/pbrt-v4 を使用,Windows 上)
【概要】Windows環境においてGitHubのmmp/pbrt-v4リポジトリからPhysically Based Renderingをインストールする手順を解説する。Visual Studio Build Tools、Git、CMakeの準備から、ビルド、環境変数の設定、動作確認までを含む。
【目次】
前準備(Git、CMake、マイクロソフト C++ ビルドツール等のインストール)
Visual Studio 2022 Build Toolsとランタイムのインストール
管理者権限でコマンドプロンプトを起動(手順:Windowsキーまたはスタートメニュー > cmd と入力 > 右クリック > 「管理者として実行」)し、以下を実行する。管理者権限は、wingetの--scope machineオプションでシステム全体にソフトウェアをインストールするために必要である。
REM Visual Studio 2022 Build Toolsとランタイムのインストール
winget install --scope machine --wait --accept-source-agreements --accept-package-agreements Microsoft.VisualStudio.2022.BuildTools Microsoft.VCRedist.2015+.x64

REM インストーラーとインストールパスの設定
set VS_INSTALLER="C:\Program Files (x86)\Microsoft Visual Studio\Installer\vs_installer.exe"
set VS_PATH="C:\Program Files (x86)\Microsoft Visual Studio\2022\BuildTools"

REM C++開発ワークロードのインストール(次のコマンドは全体で1行である)
%VS_INSTALLER% modify --installPath %VS_PATH% --add Microsoft.VisualStudio.Workload.VCTools --add Microsoft.VisualStudio.Component.VC.Tools.x86.x64 --add Microsoft.VisualStudio.Component.Windows11SDK.22621 --includeRecommended --quiet --norestart
Git のインストール
Git のページ https://git-scm.com/ からダウンロードしてインストールする。
- Windows での Git のインストール: 別ページ »で説明している
- Ubuntu では、端末で次のコマンドを実行して、Git をインストールする
# パッケージリストの情報を更新
sudo apt update
sudo apt -y install git
CMake のインストール
CMake の公式ダウンロードページ: https://cmake.org/download/
- Windows での CMake のインストール: 別ページ »で説明している
- Ubuntu では、端末で次のコマンドを実行して、CMake をインストールする
# パッケージリストの情報を更新
sudo apt update
sudo apt -y install cmake cmake-curses-gui
GitHubのmmp/pbrt-v4のインストール
URL: https://github.com/mmp/pbrt-v4
Windowsでの手順を下に示す。Ubuntuでも同様の手順である。
- Windowsで、管理者権限でコマンドプロンプトを起動(手順:Windowsキーまたはスタートメニュー >
cmdと入力 > 右クリック > 「管理者として実行」)する - GitHubのmmp/pbrt-v4のダウンロード
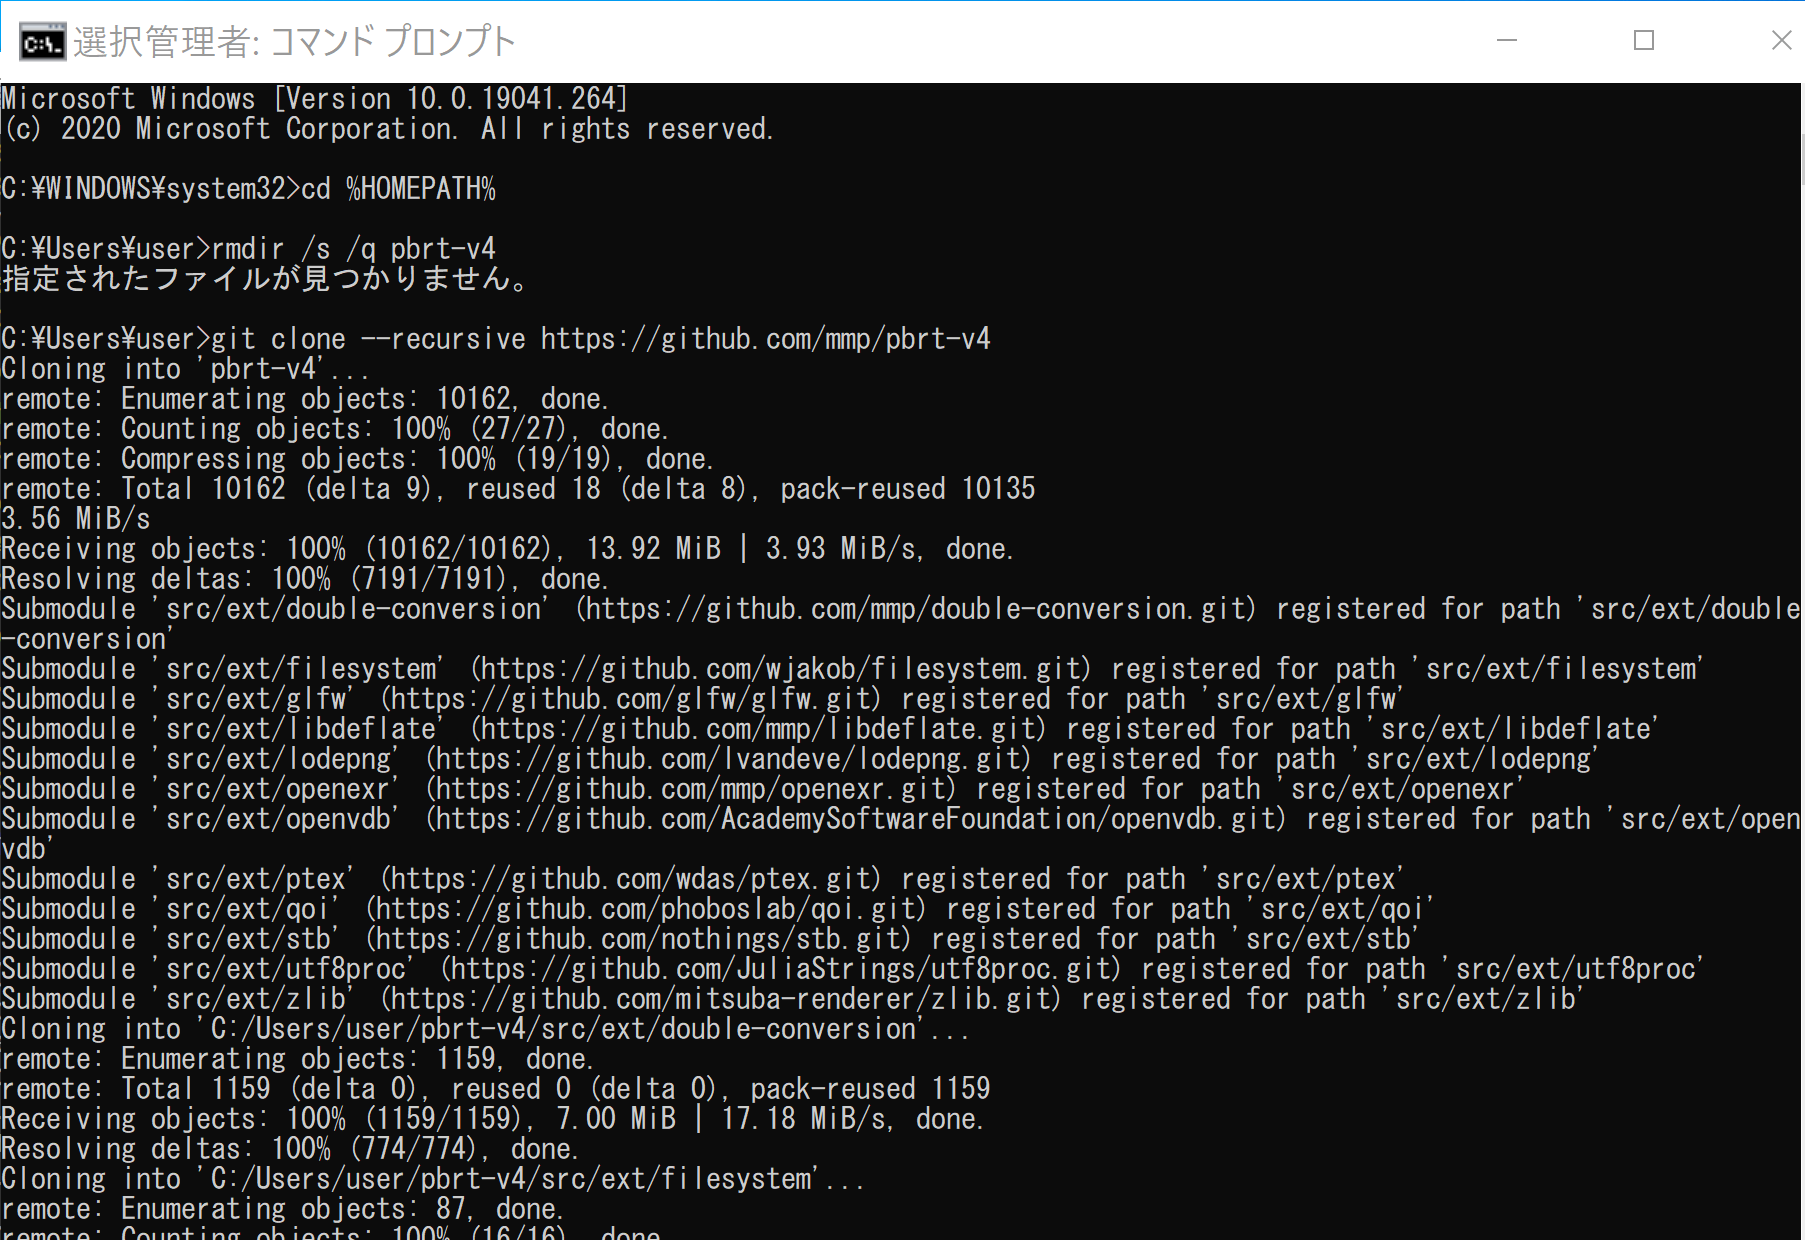
glog、openexr、ptex、zlibが合わせてダウンロードされる。
cd /d c:%HOMEPATH%
rmdir /s /q pbrt-v4
git clone --recursive https://github.com/mmp/pbrt-v4
- CMakeの実行
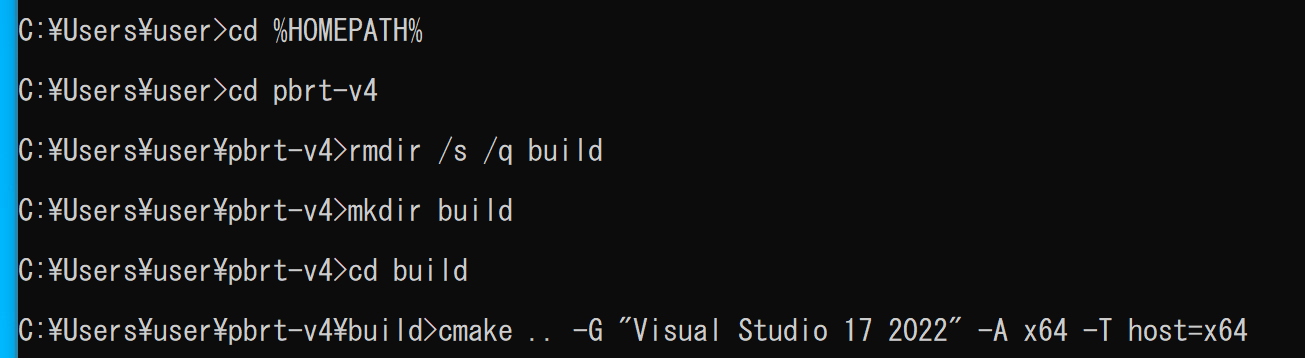
CMakeのオプションの「Visual Studio 17 2022」の部分は、使用するVisual Studioのバージョンに合わせる必要がある。Visual Studio 2022のときは「Visual Studio 17 2022」、Visual Studio 2019のときは「Visual Studio 16 2019」を指定する。
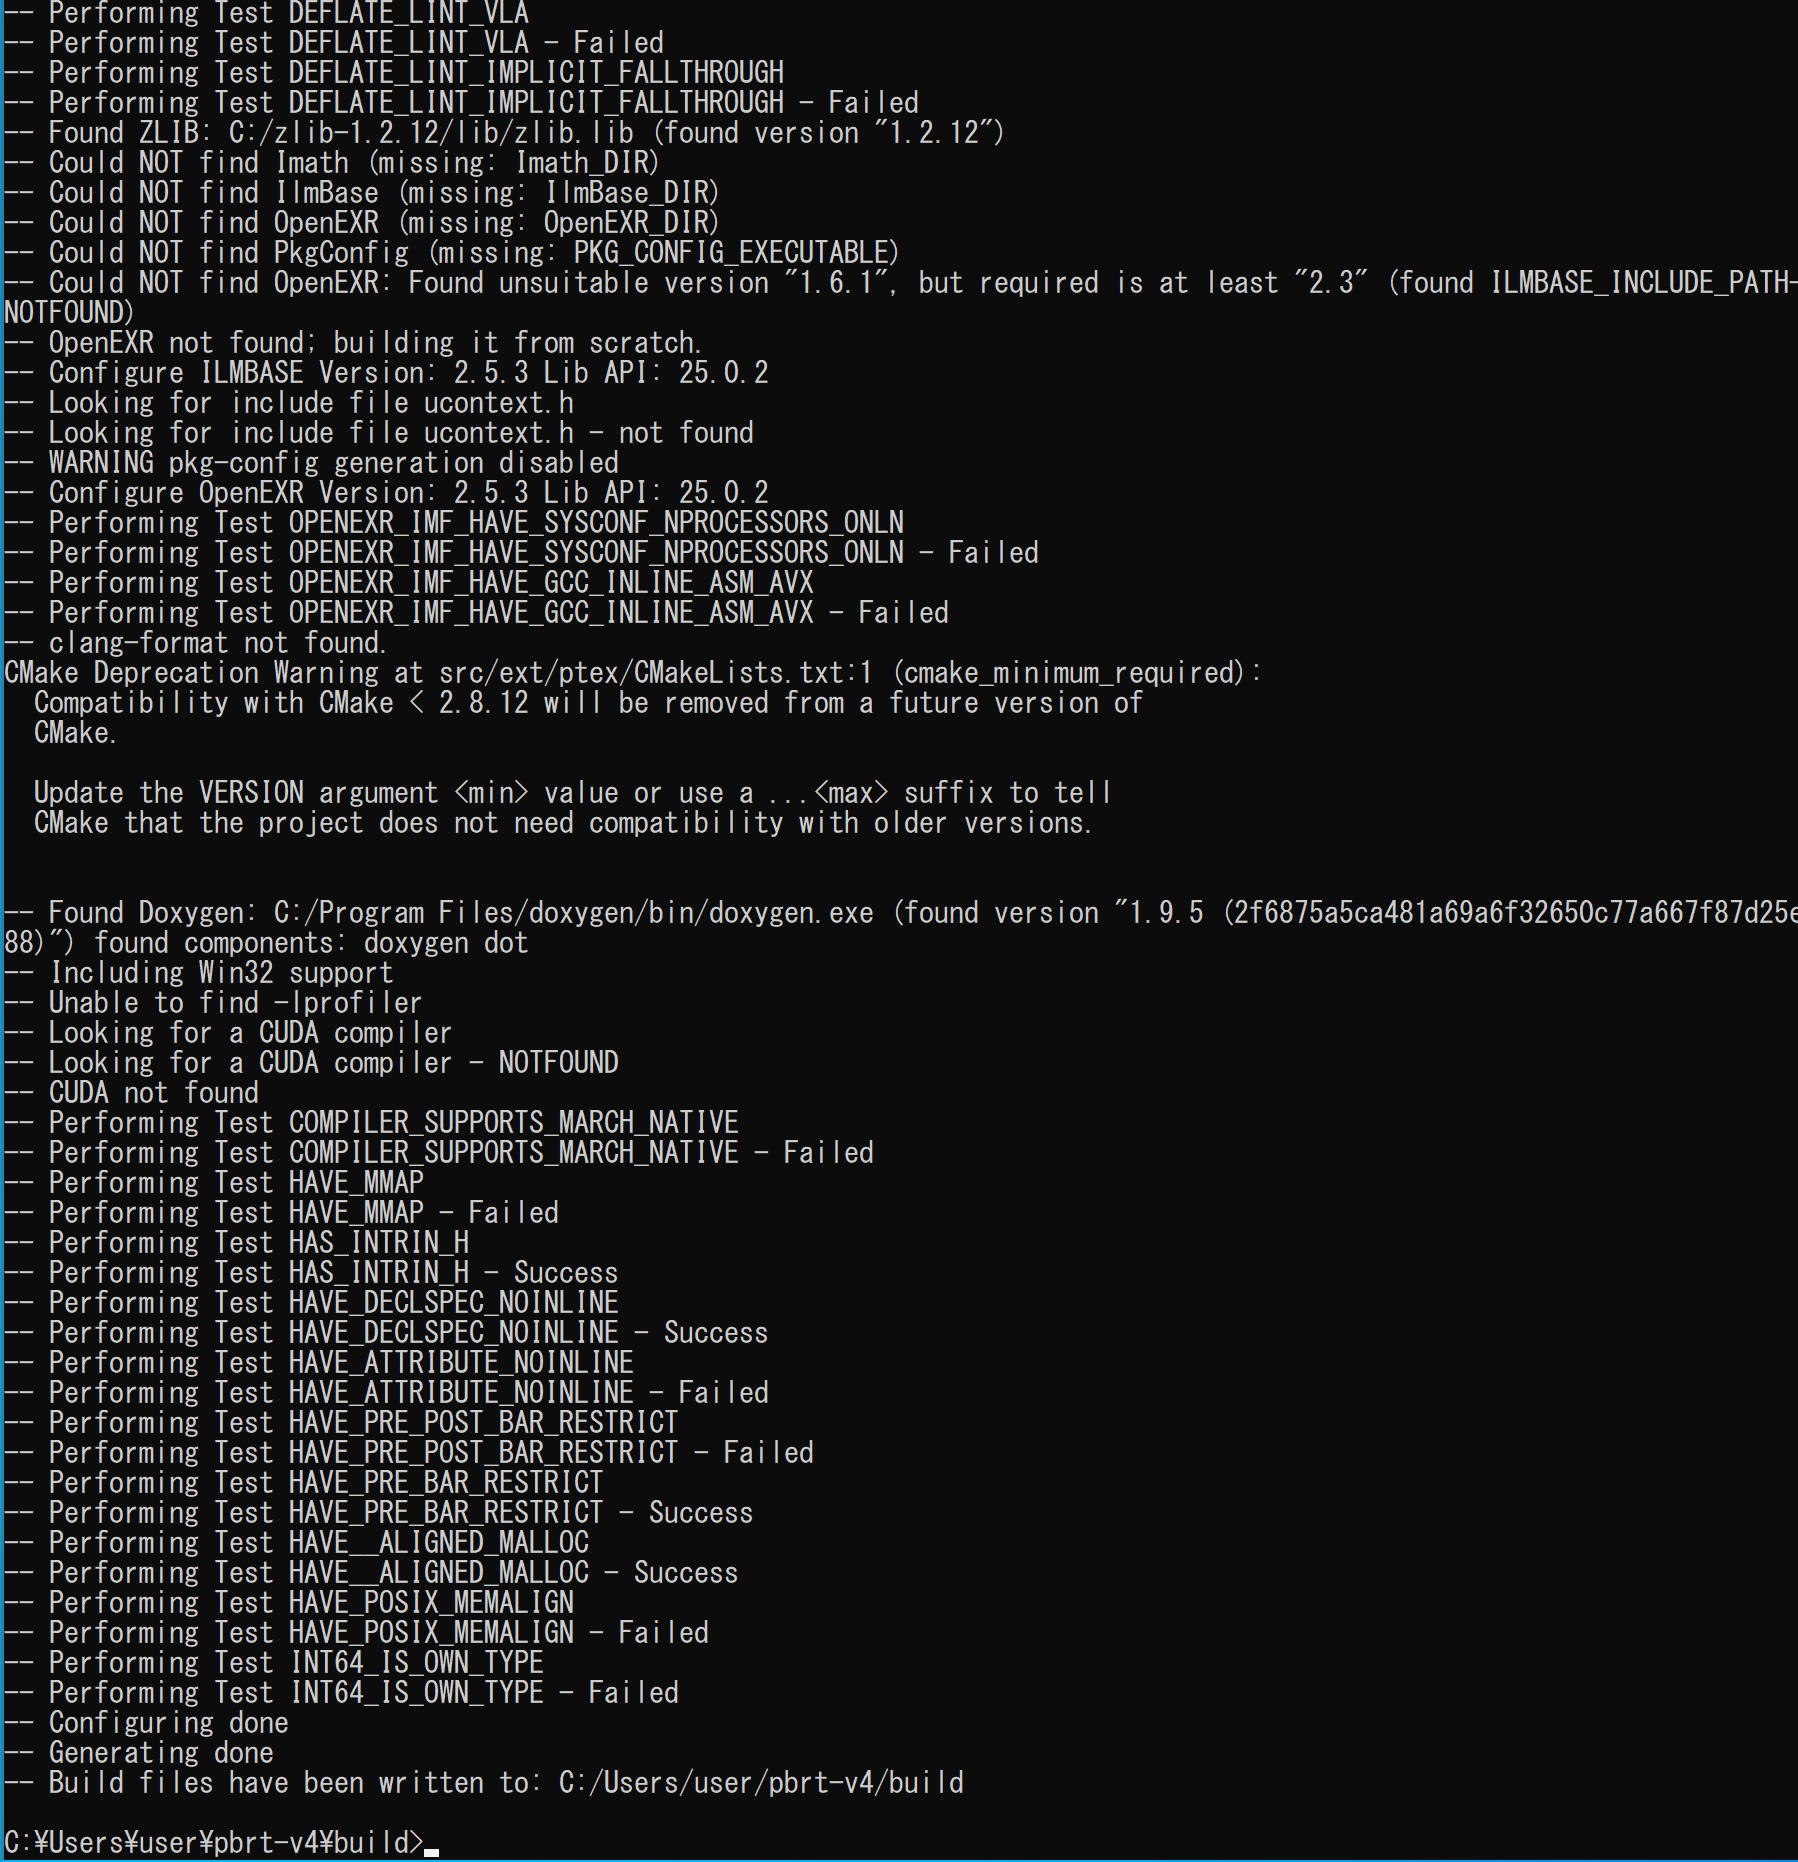
cd /d c:%HOMEPATH%
cd pbrt-v4
rmdir /s /q build
mkdir build
cd build
cmake .. -G "Visual Studio 17 2022" -A x64 -T host=x64
- CMakeの結果の確認
エラーメッセージが出ていないことを確認する。
- ビルド操作、インストール操作
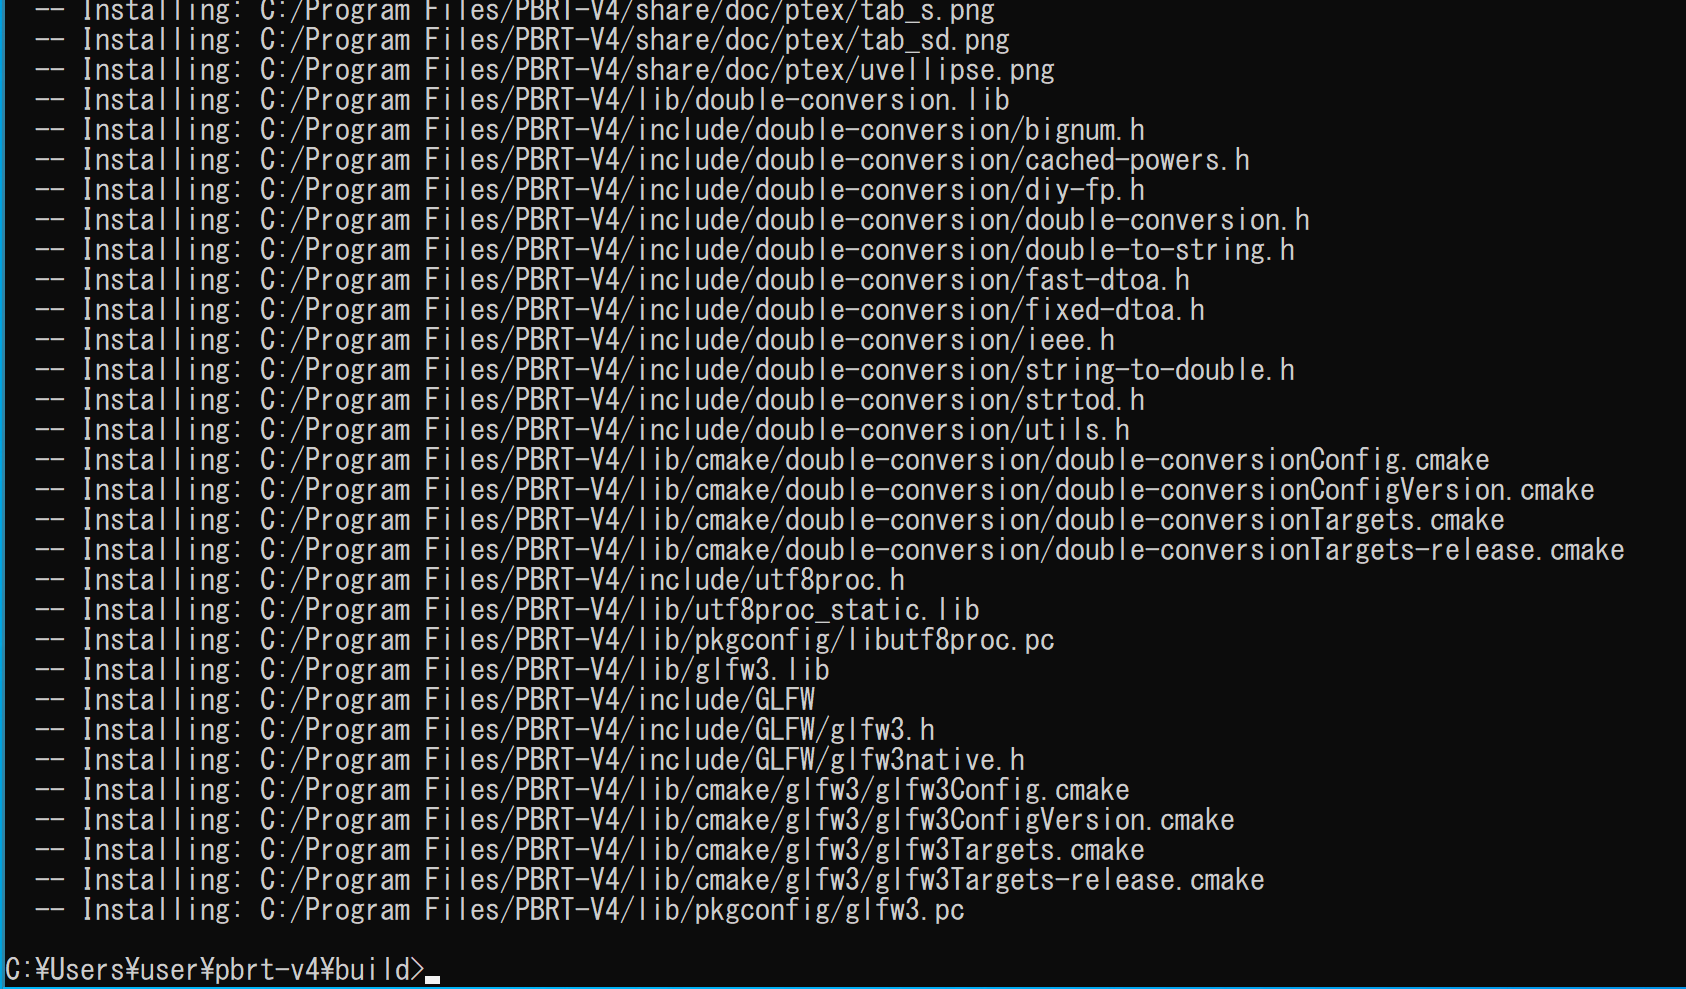
cmake --build . --config RELEASE --target INSTALL -- /m:4
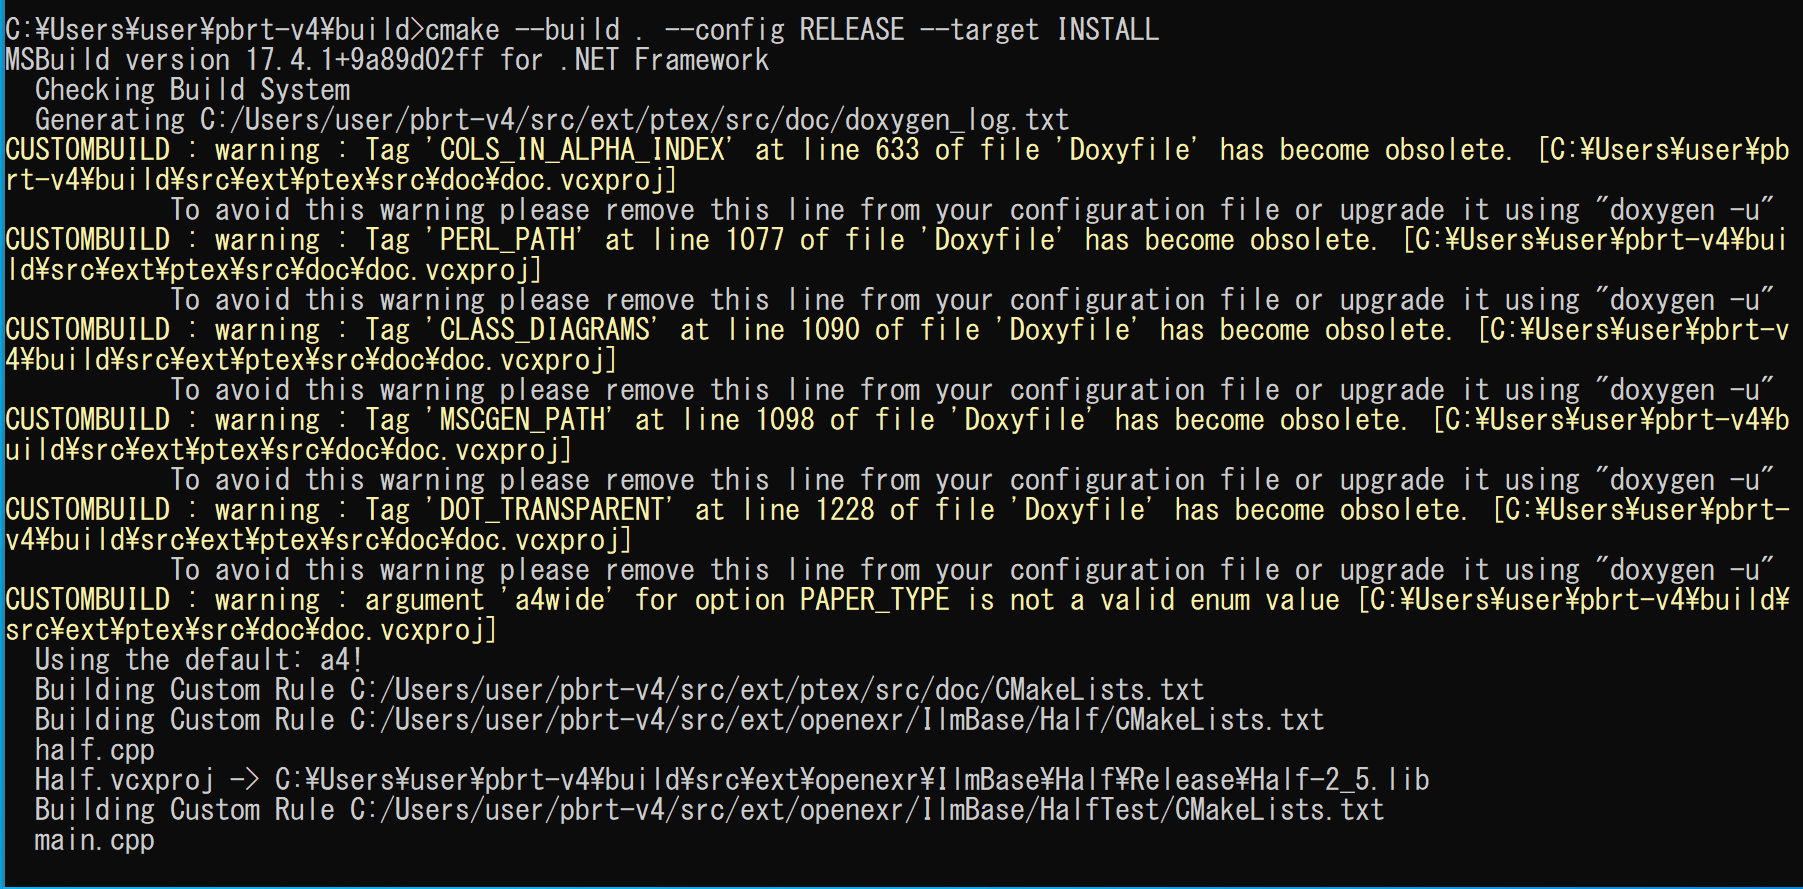
- 結果の確認
エラーメッセージが出ていないことを確認する。
- Windowsのシステム環境変数PATHに、c:\Program Files\PBRT-V4\binを追加することにより、パスを通す
Windowsで、管理者権限でコマンドプロンプトを起動(手順:Windowsキーまたはスタートメニュー >
cmdと入力 > 右クリック > 「管理者として実行」)する。次のコマンドを実行する。
powershell -command "$oldpath = [System.Environment]::GetEnvironmentVariable(\"Path\", \"Machine\"); $oldpath += \";c:\Program Files\PBRT-V4\bin\"; [System.Environment]::SetEnvironmentVariable(\"Path\", $oldpath, \"Machine\")"

試しにレンダリングを行ってみる
- Windowsでは、コマンドプロンプトを管理者として実行する
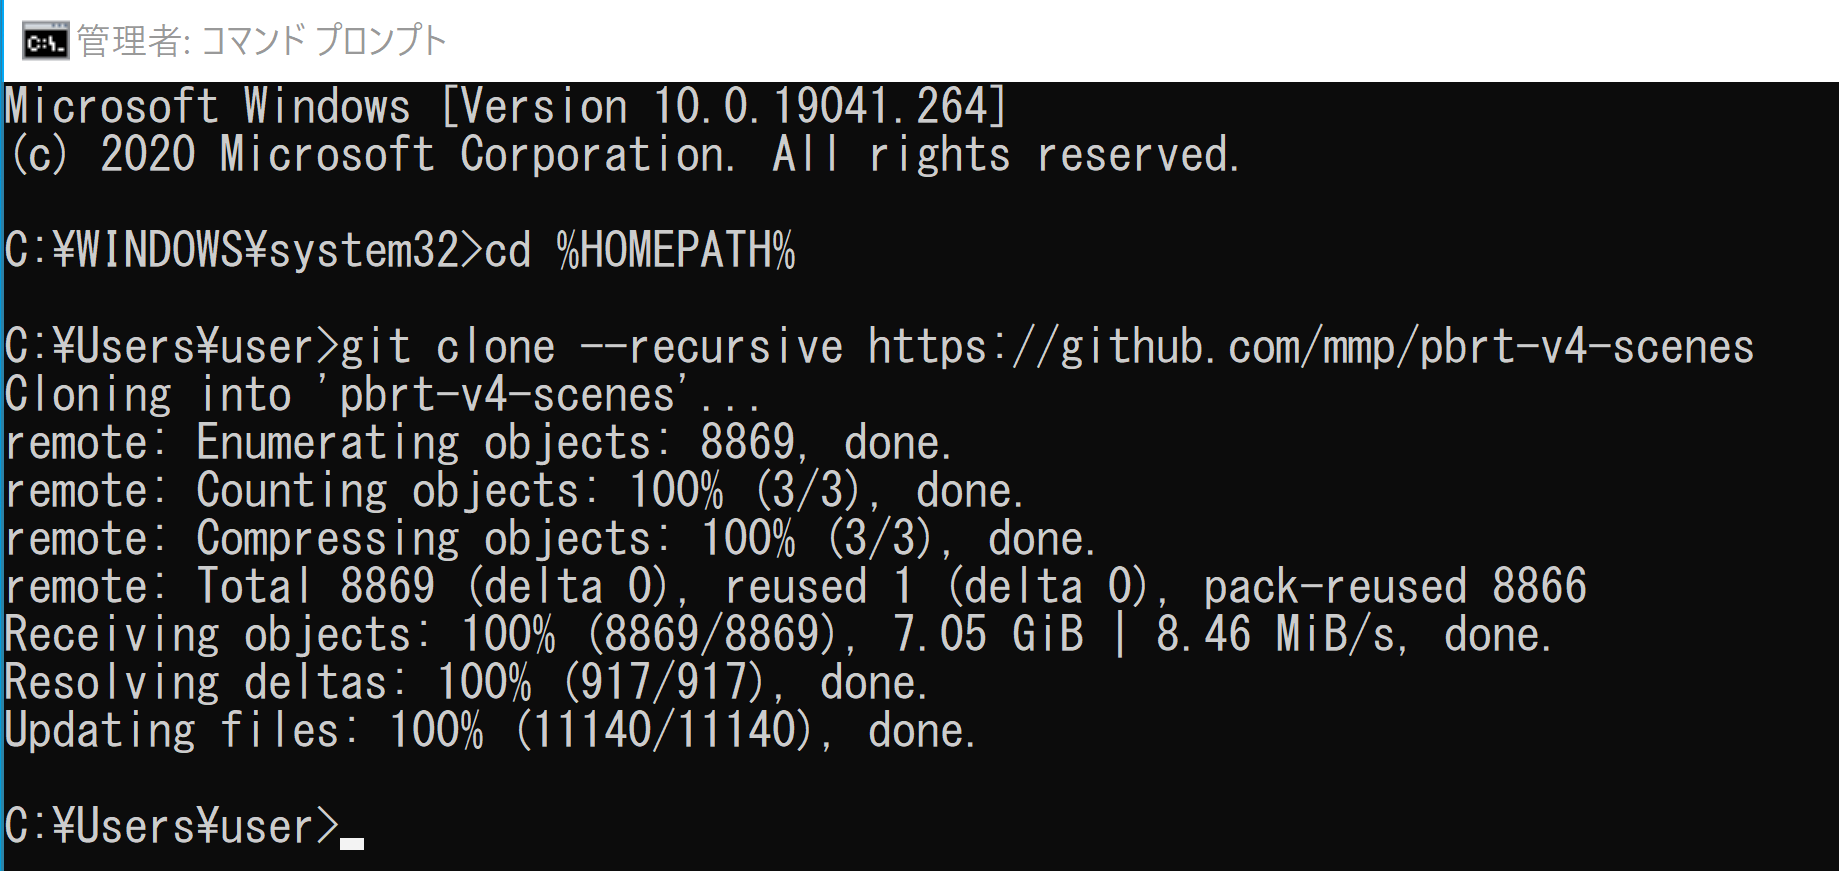
- GitHubのmmp/pbrt-v4-scenesのダウンロード
cd /d c:%HOMEPATH%
git clone --recursive https://github.com/mmp/pbrt-v4-scenes
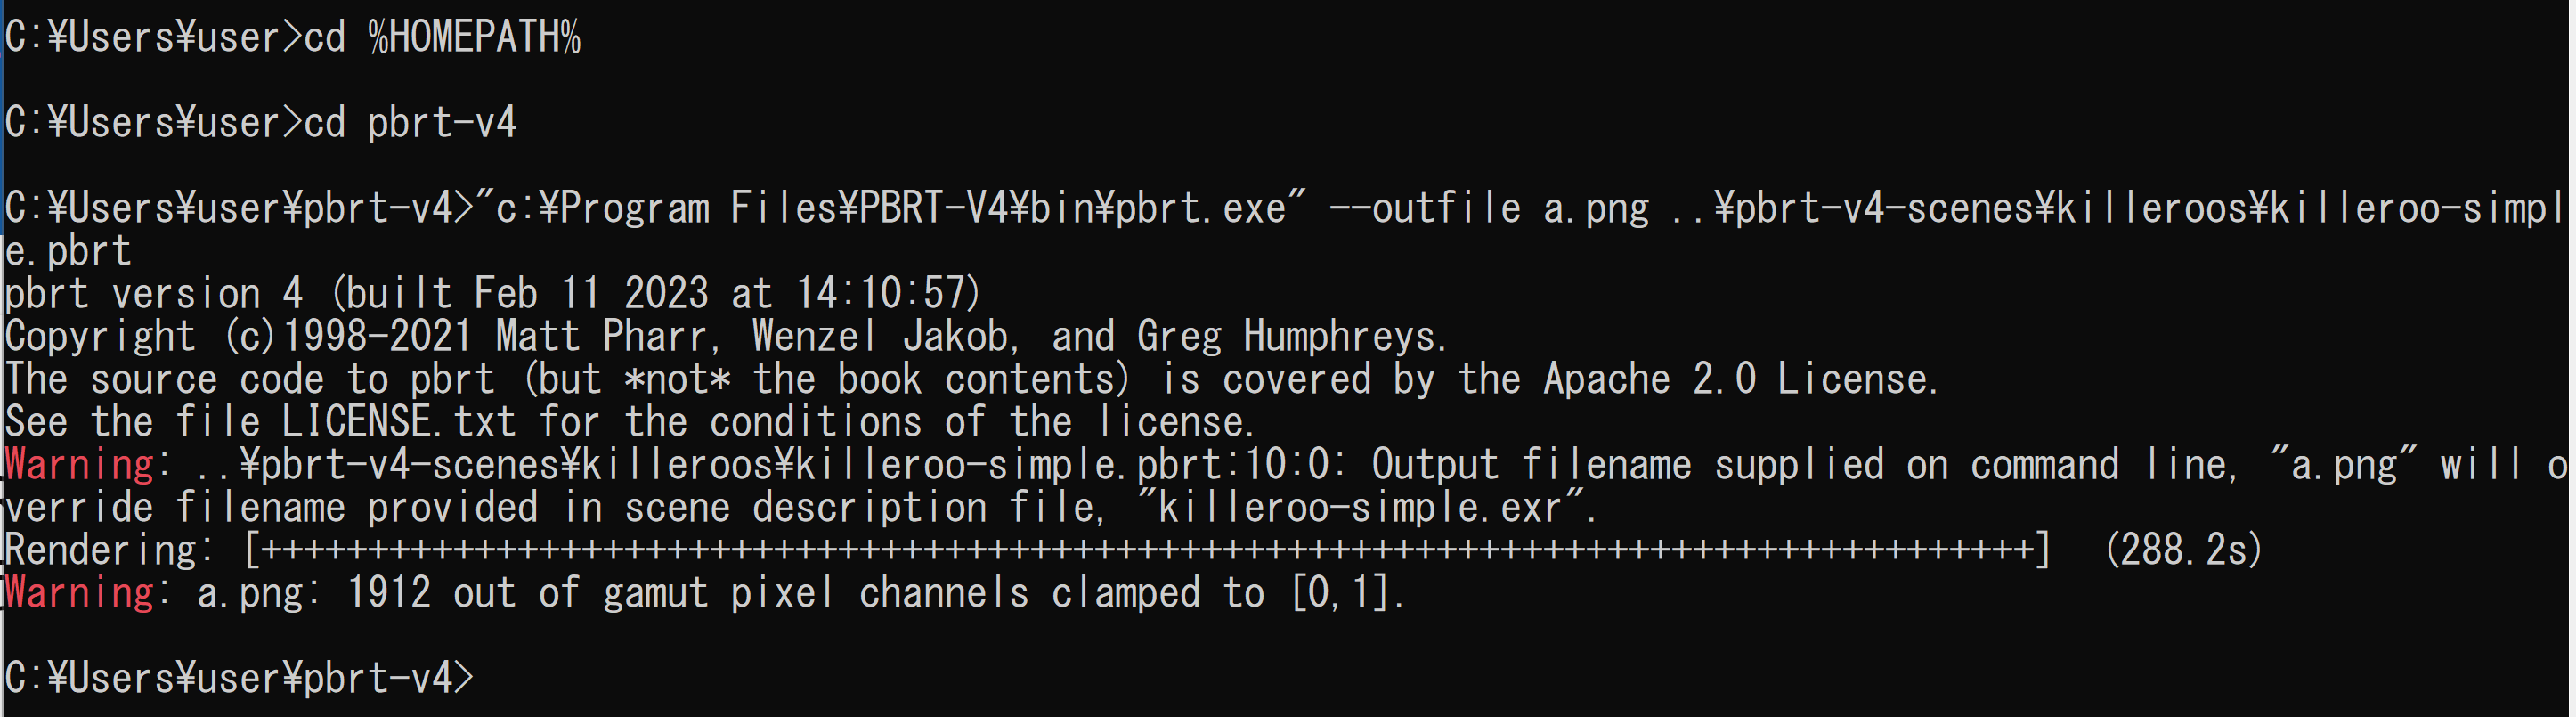
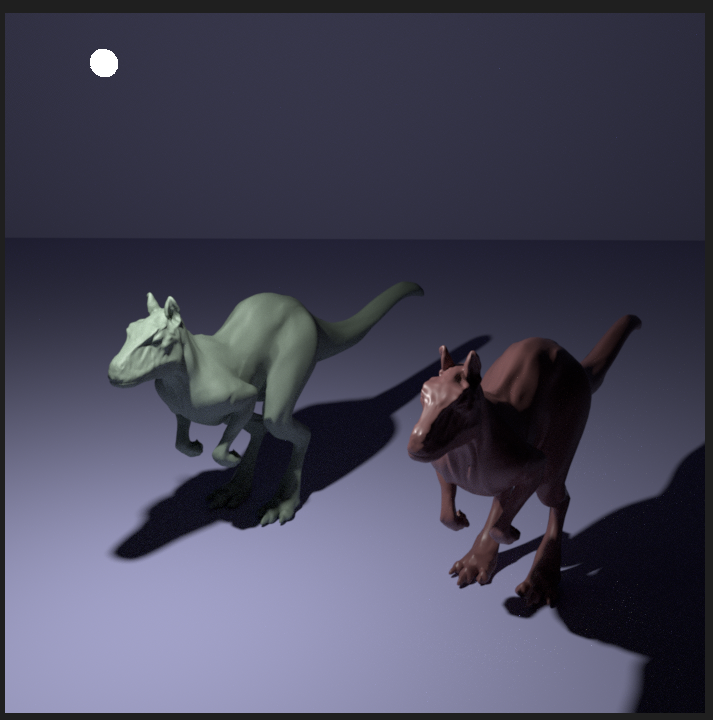
- レンダリングの実行
cd /d c:%HOMEPATH%
cd pbrt-v4
"c:\Program Files\PBRT-V4\bin\pbrt.exe" --outfile a.png ..\pbrt-v4-scenes\killeroos\killeroo-simple.pbrt